Exercise: Panning with different shutter speeds

This exercise was done at the border of a busy road, most vehicles were going at an average speed of 90 km/h (around 60 miles/h). The exposure was kept the same throughout the exercise by using The TV mode (shutter priority) going from the fastest to the slowest shutter speed. This was all done handheld as my goal was to practice for this technique in order to feel more comfortable with future image opportunities for moving objects.

1/1000s f4
Everything is still, no visible movement as expected.

1/800s f4
Still no visible movement yet, the car could very well be parked, we have no way finding out but to assume.

1/640s f4
No visible movement, yet visually something tells us it is probably moving. It does seem like the background is getting less sharp.

1/500s f4
No obvious movement here but we assume the motorbike is moving as it is standing and in balance. Again, the background is less sharp.

  
1/400s f5
We see here that oart of the wheels are slightly blurry, but it doesn't look like it's going very fast.

  
1/320s f4.5
Wheels are getting slightly more blurry


1/320s f5
Same as above


1/250s f5
I do not see any major difference with the previous shutter speed


1/160s f5
Wheels are more blurry and the car is clearly starting to stand out of the background compared to the previous image. Background is more blurry and the car seems sharper.


1/125s f5

The Wheels are getting more blurry, same as background. This makes the car stand out more than the previous image and looks slightly faster.


1/100s f6.3

The Wheels are much blurrier now, making it harder to see the gaps near the center, a more uniform color is starting to form from the center towards the edges. This is quite logic due to the higher speed at the center of the wheel. The movement is very clear now, increased by the blurry car coming the opposite way.
Yet, it is still hard to feel whether it's going at a high speed or not.


1/80s f7.1

Here we start feeling the sense of speed. The background and the wheels are very blurry.
I also have the feeling that as it's a sports car the sense of speed is greater.


1/60s f9

The car clearly stands out from the background, it almost looks fake and makes the car look like a toy.
Sense of speed is not so visible, as we see the car from an angle the effect is not as strong as it was with the previous image, which was near a 90 degrees angle from the camera.


1/50s f8

Here the effect is less noticeable as the subject is far from a 90 degrees angle.


1/40s f11


1/30s f13
This reminds me of the tilt shift effect making the subject appear like a miniature model.


1/25s f16

 
1/25s f8
Being roughly at a 90 degrees angle and having the background blurred with a left to right  movement makes the car look as if it is going much faster than the previous images.  

 
1/20s f20
This truly gives a sense of high speed, this is one of my favorite.


Overall, I think this technique could be very interesting to use for moving objects or human beings, It really makes an otherwise very dull image much more interesting and brings the subject alive. I will definitely use it more from now on. I also realise that an "interesting" shutter speed would prove to be different in every situations. For cars it might be more straightforward by judging the average speed and then tweaking around a shutter speed of 1/average speed. In this case it worked quite well, the image started to look interesting from a shutterspeed of 1/80 s.  It might also be worth trying much slower shutterspeeds in the future.

different shutter speeds


To test the effect of different shutter speeds I thought a continuous stream was ideal for this exercise. I have tested shooting moving subjects previously and all I have noticed is that the slower the shutter speed the more the moving subjects dissapear. You can make a busy road empty of any cars provided you use a long exposure.
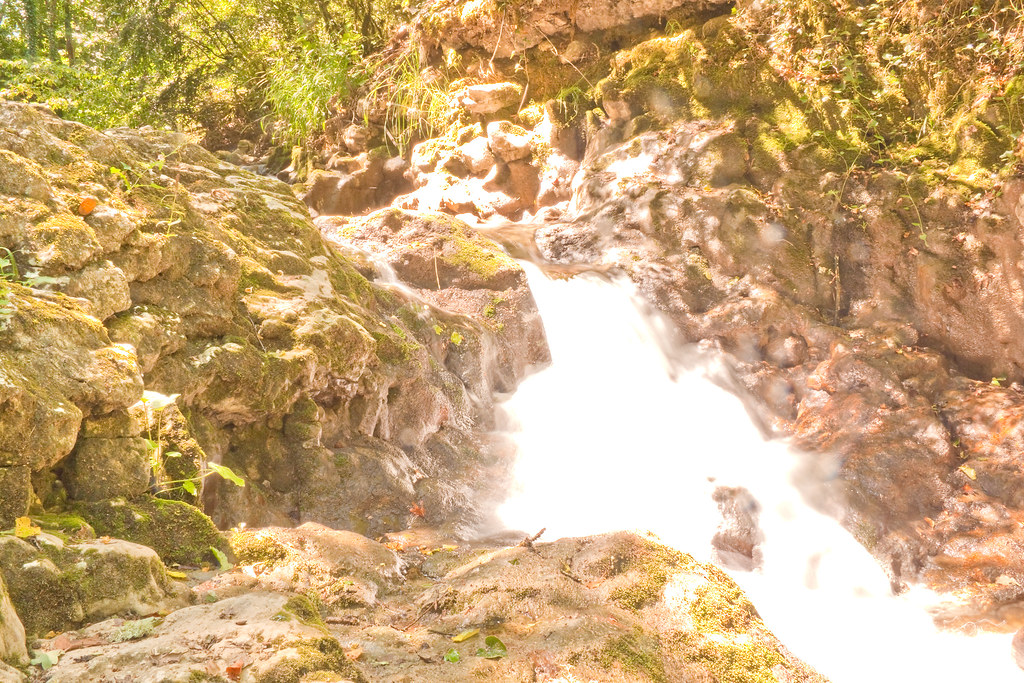
I went to a place called Tine de Conflens, the river is named la Venoge. I went on the slippery rocks trying not to fall and set my tripod up, I then set my camera to shutter priority. The lighting was far from ideal as the Sun was aimed at the water with the surroundings in a deep shade. This resulted in parts of the water stream being overexposed and blown out gradually but I figured for this project it might help see the effects more dramatically.
F 3.5, 1/400s


F 5.0, 1/320s


F4.5, 1/250


F/7.1, 1/160s


F/7.1, 1/125s


F/6.3, 1/100s


From a shutter speed of 1/400s to 1/60s the water drops are still noticeable but parts of the stream are slowly smooting out.


F/9.0, 1/60s


F/14, 1/50s


F/14, 1/40s


F/14, 1/30s


F/13.0, 1/25s


F/16, 1/25s


F/14, 1/20s


F/20, 1/15s


F/22, 1/13s


f/22, 1/6s


We can see from now on the water is starting to smooth out seriously and losing it's details, giving way to a milky water stream.


f/22, 1/4 s


f/22, 0.3s


At this point big parts of the stream have that milky feel (blown out parts) while still rendering the edges transparent. I think it's a good shutter speed to keep a reasonable balance between smoothed out water in the busy areas while keeping it more detailed in the less busy areas.


f/22, 0.4s


f/22, 0.5s


f/22, 0.6s


At this point, apart from the water being over-exposed the stream would look milky in all areas and would not benefit much more from a slower shutter speed.

A neutral density filter would be necessary to prevent blown out areas. It could also render movement to the surrounding trees if the leaves were made blurry by windy conditions.


The creative effect of shutter speeds could be approached differently depending on the subject and its moving speed. Fast shutter speeds of 1/2500s can freeze almost any subject no matter the action and slow shutter speeds can lighten up a dark landscape, smooth out water, make people dissapear and so on.

Exercise: Focus at different apertures

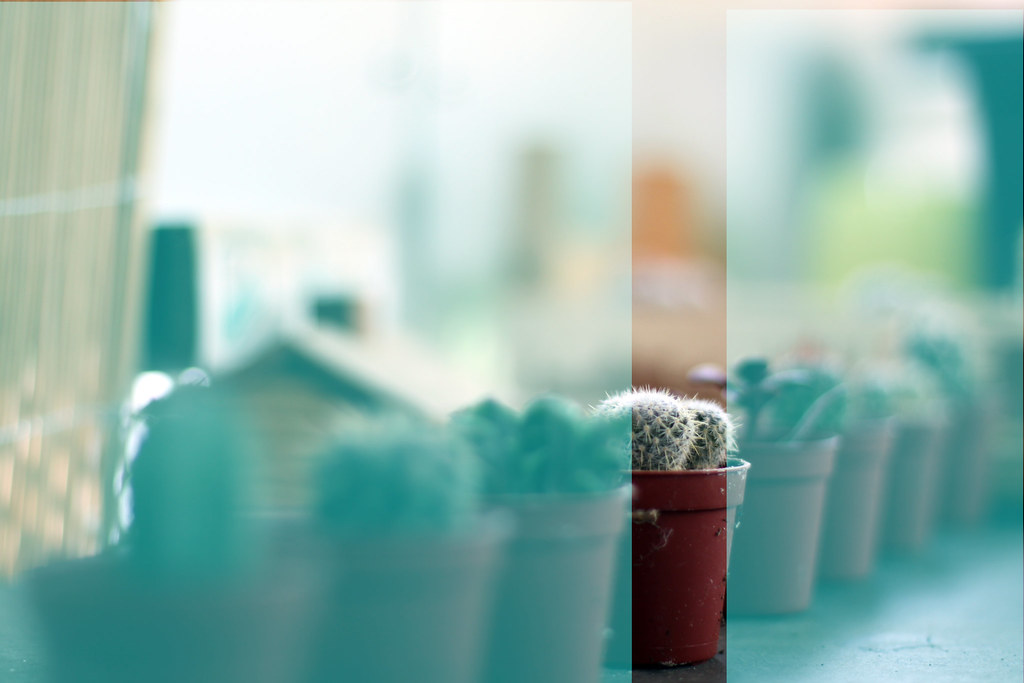
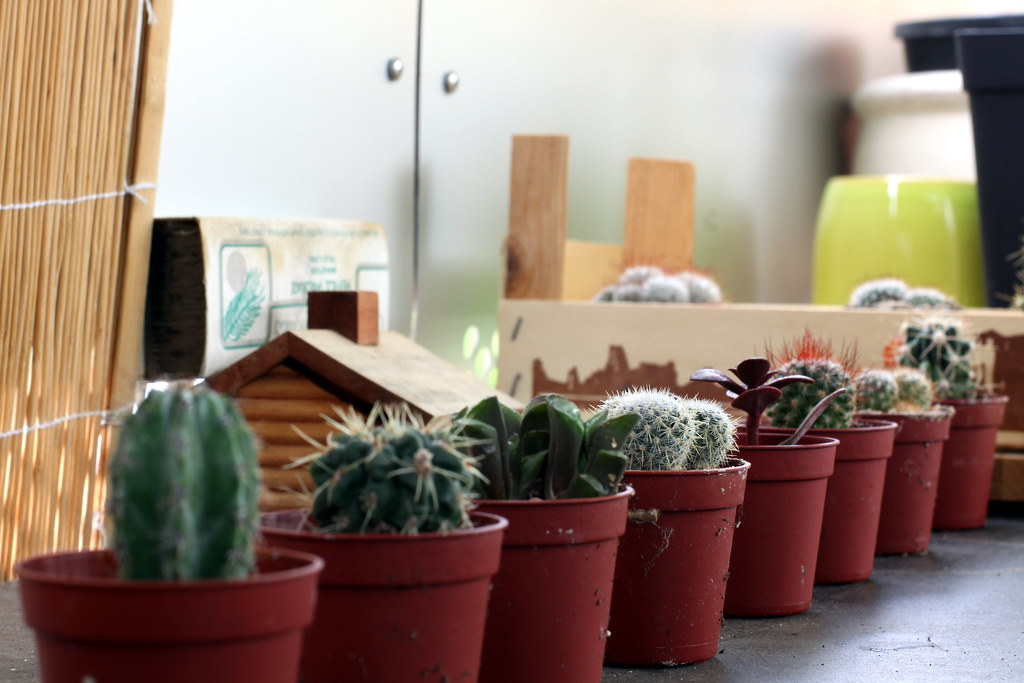
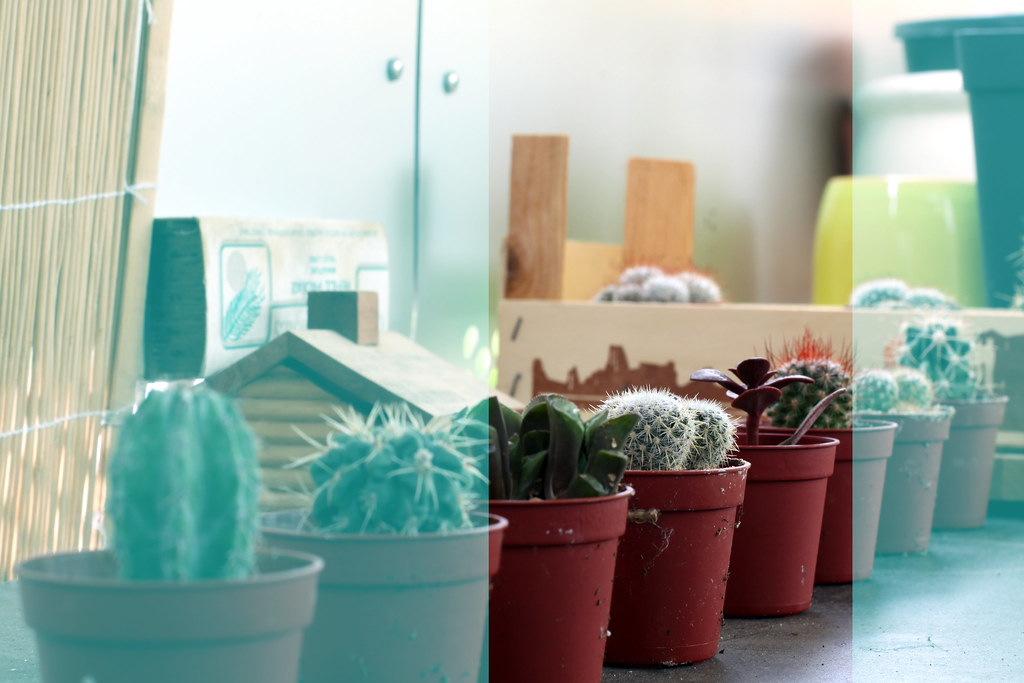
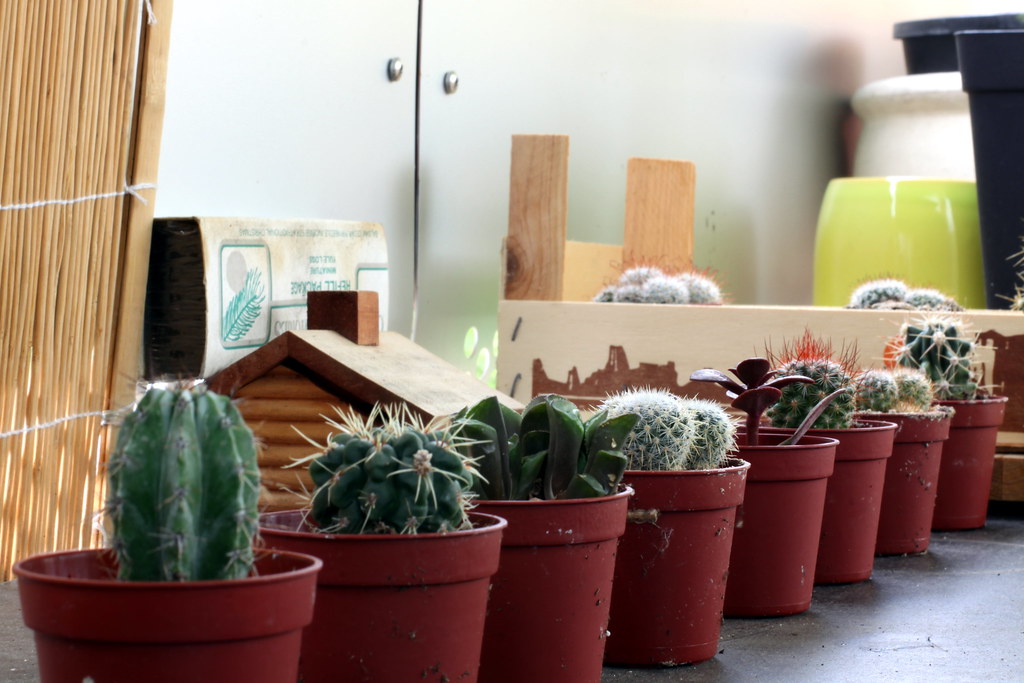
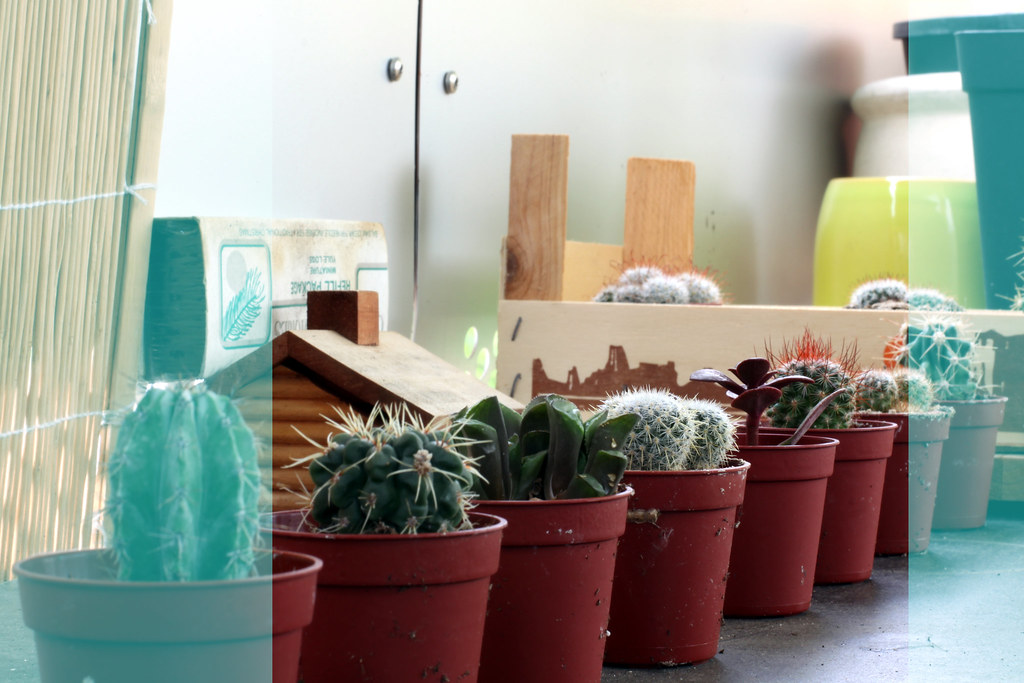
This exercise was done with the focus on the middle cactus, on aperture priority mode. The aperture chosen were f/1.4, f/16 and f/22 respectively. Each image has a following one showing the approximate limit of sharpness.

F/1.4


F/1.4


This has a very narrow depth of field and really focuses on the subject.


F/11


This has probably enough depth of field to have most subjects sharp but the objects in the front and back are less sharp.


F/11
F/22


Big depth of field here, almost all objects are sharp.

The difference with F/11 is not dramatic but it is noticeable. It's much easier to notice it with objects in a row.

Exercise: Focus with a set aperture

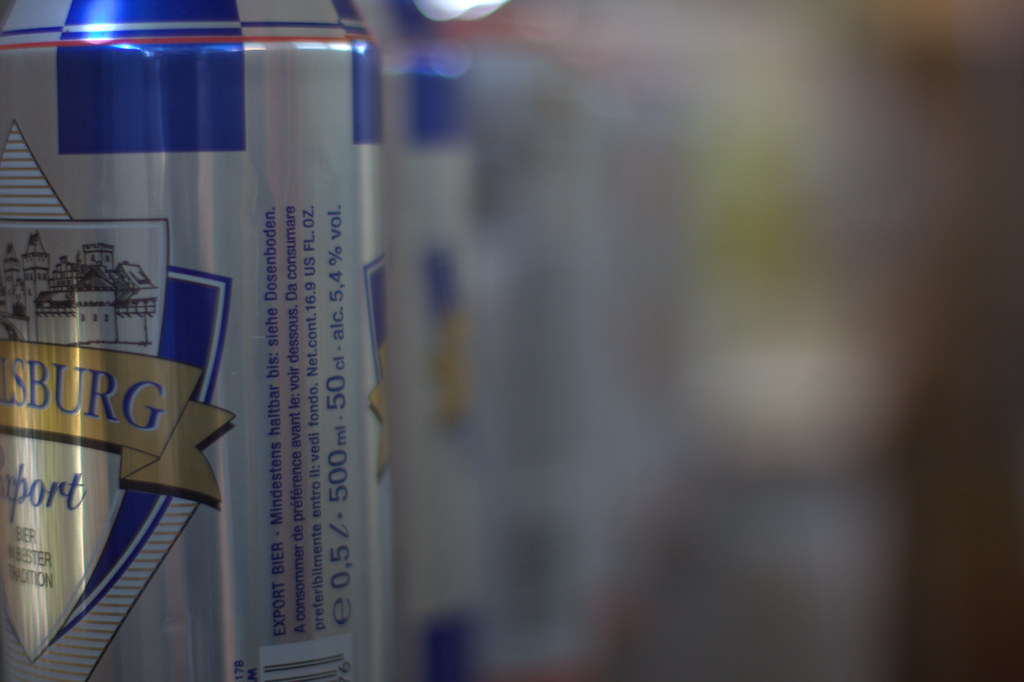
This exercise was done with a 50mm 1.4, which makes a (quite extreme) narrow depth of field.
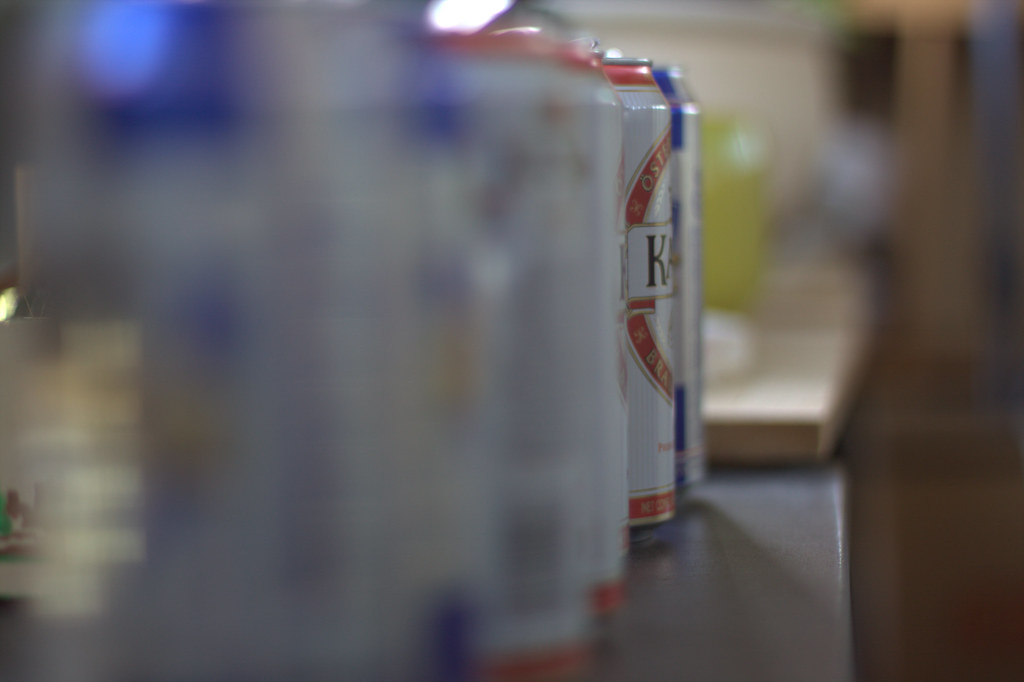
This will make it quite clear in these examples where the focus is. the 3 photos have been made using the same frame, same exposure, different focus points.


focus 1: This focus brings attention to the first can, with the others blurred out we assume the ones behind are similar.
 focus2: Focusing on the middle subject, while blurring the foreground and background really gives importance to the subject, It makes it stand out of the group, could be an interesting technique to isolate something or someone from a crowd or many elements.

Focus 3: This background subject focus makes our eye scan from the blurry foreground and leads us to the back where the subject is in focus. Another interesting effect to keep in mind
I am not sure which one I like most, they could all be used effectively depending on the situation. Focus 1 is fairly common and probably the mostly used. I have a preference for focus 3 because it looks unusual to me. Focus 2 would be interesting to use but maybe not obvious when shooting.