Exercise: Softening the light

Fluorescent light above still life with no diffuser:


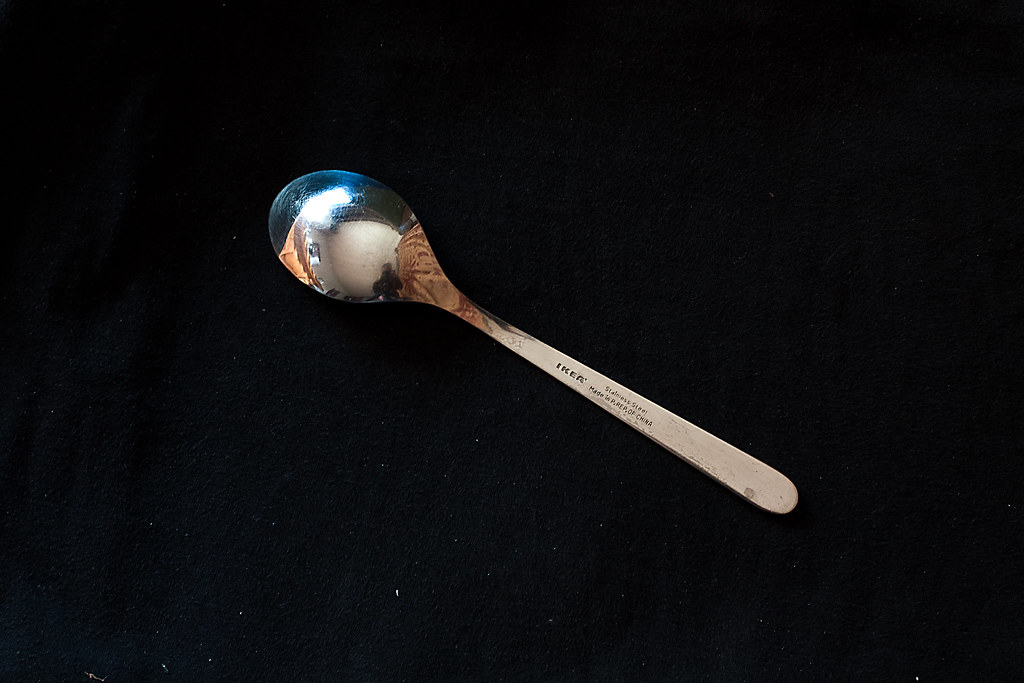
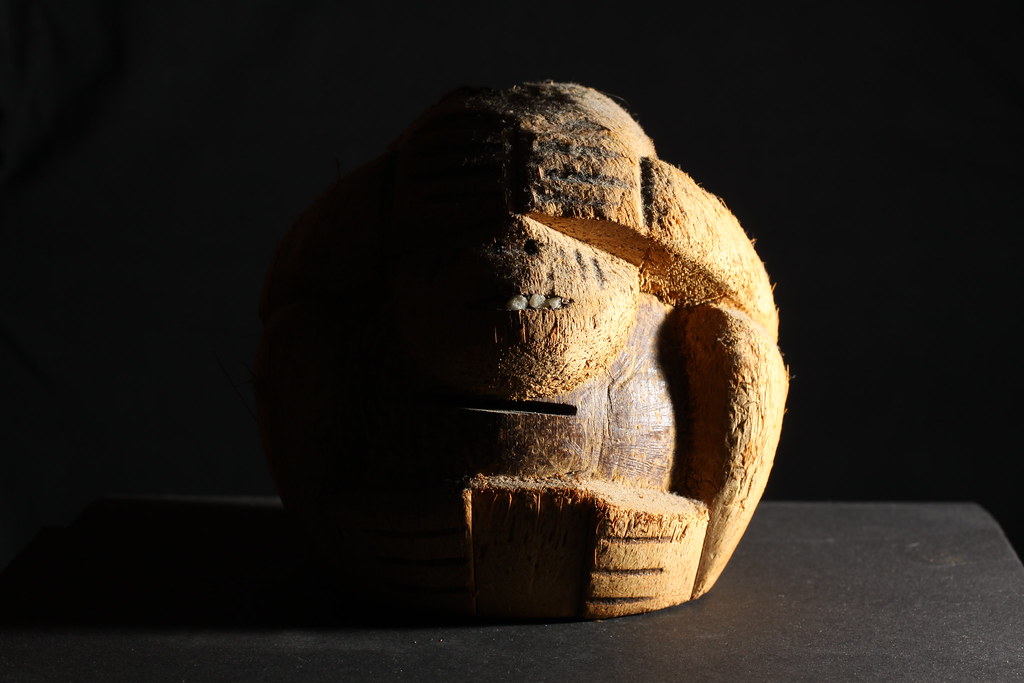
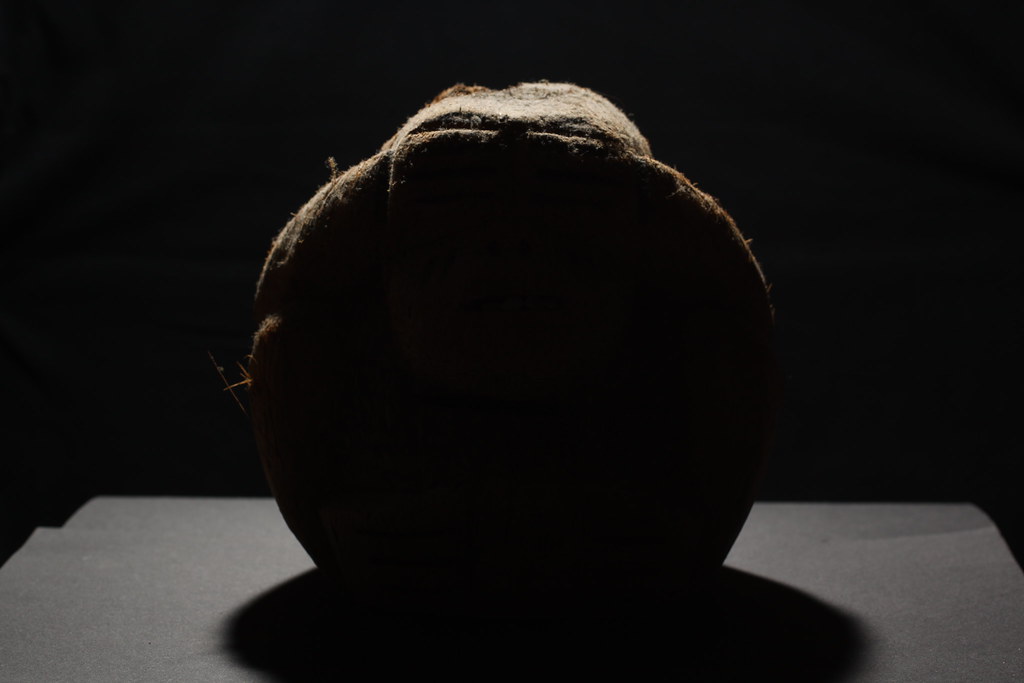
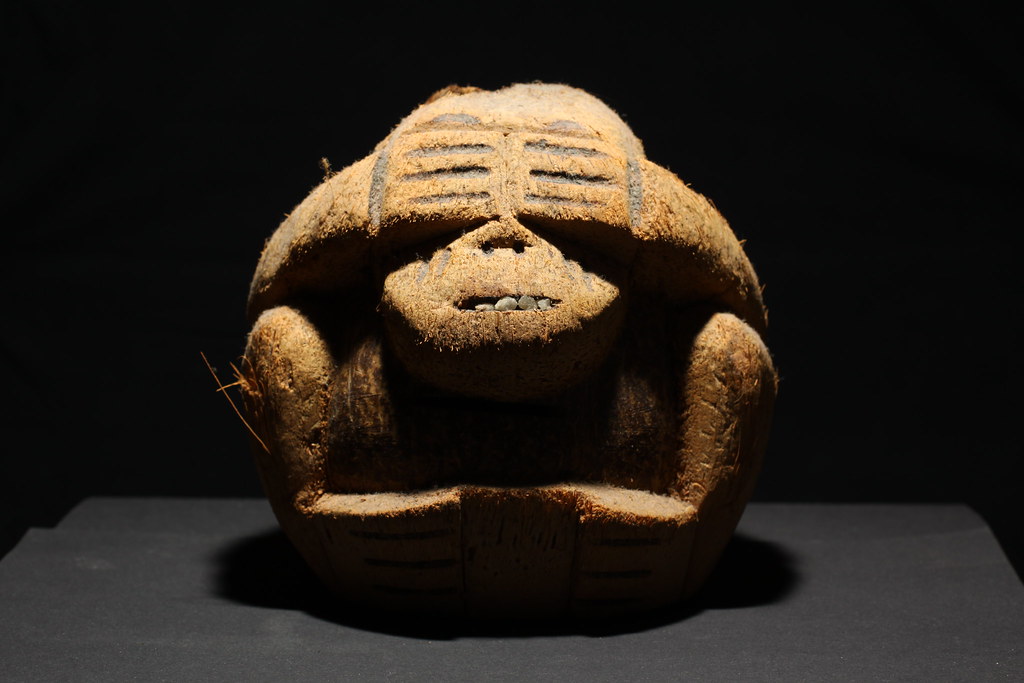
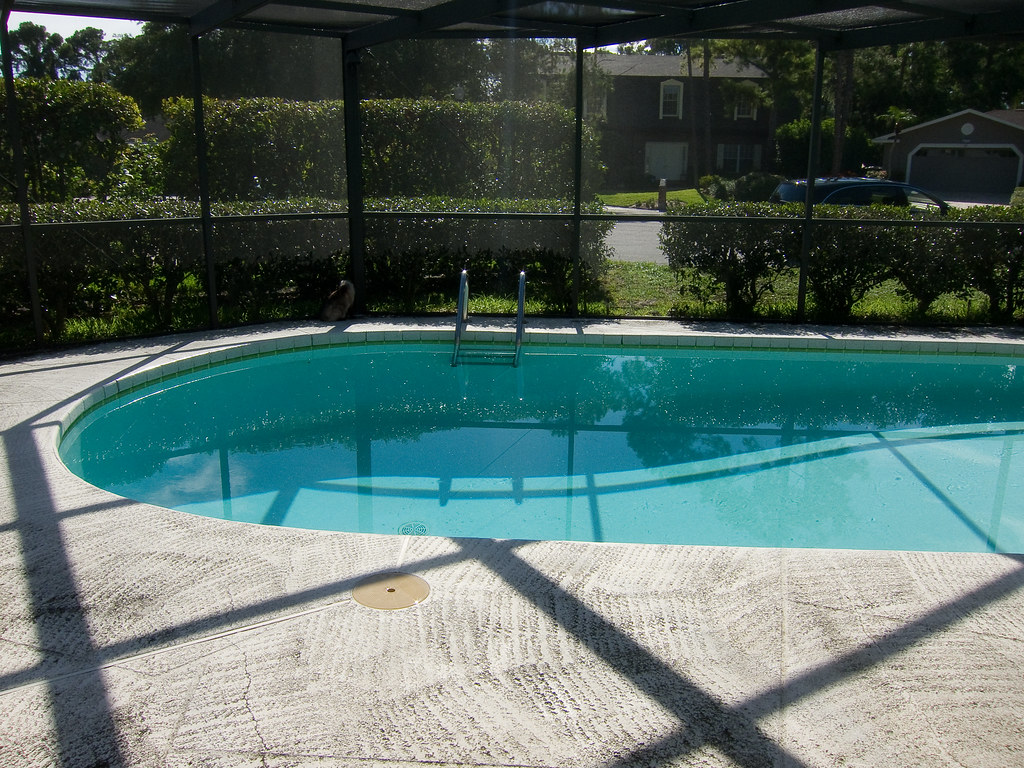
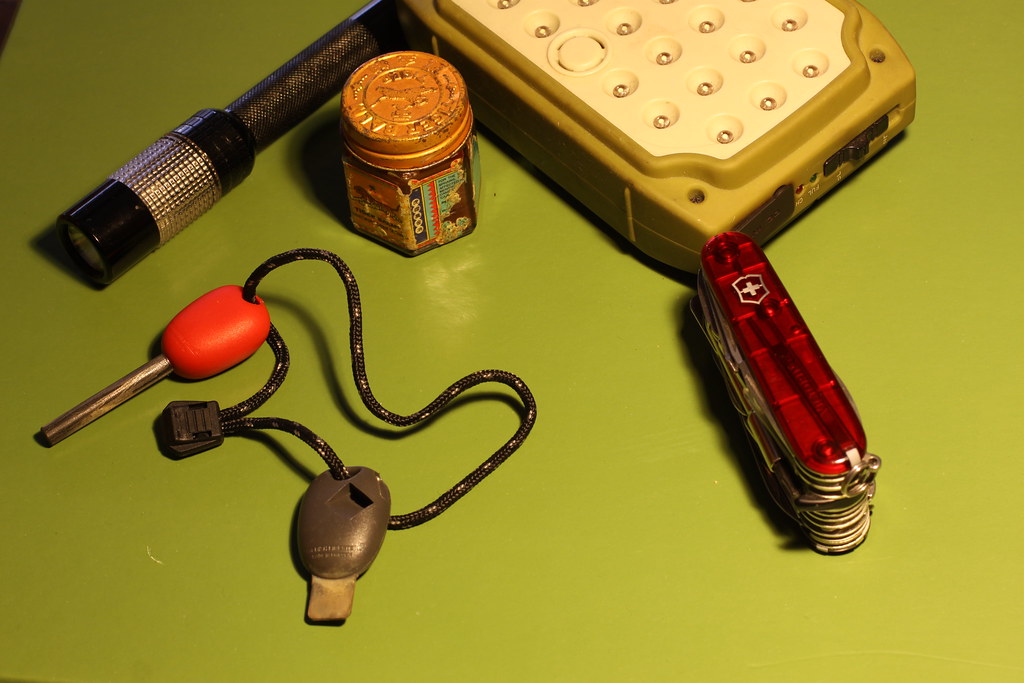
The shadows are quite harsh here, this was made in purpose to more easily see the effect of the diffuser in the next shot.


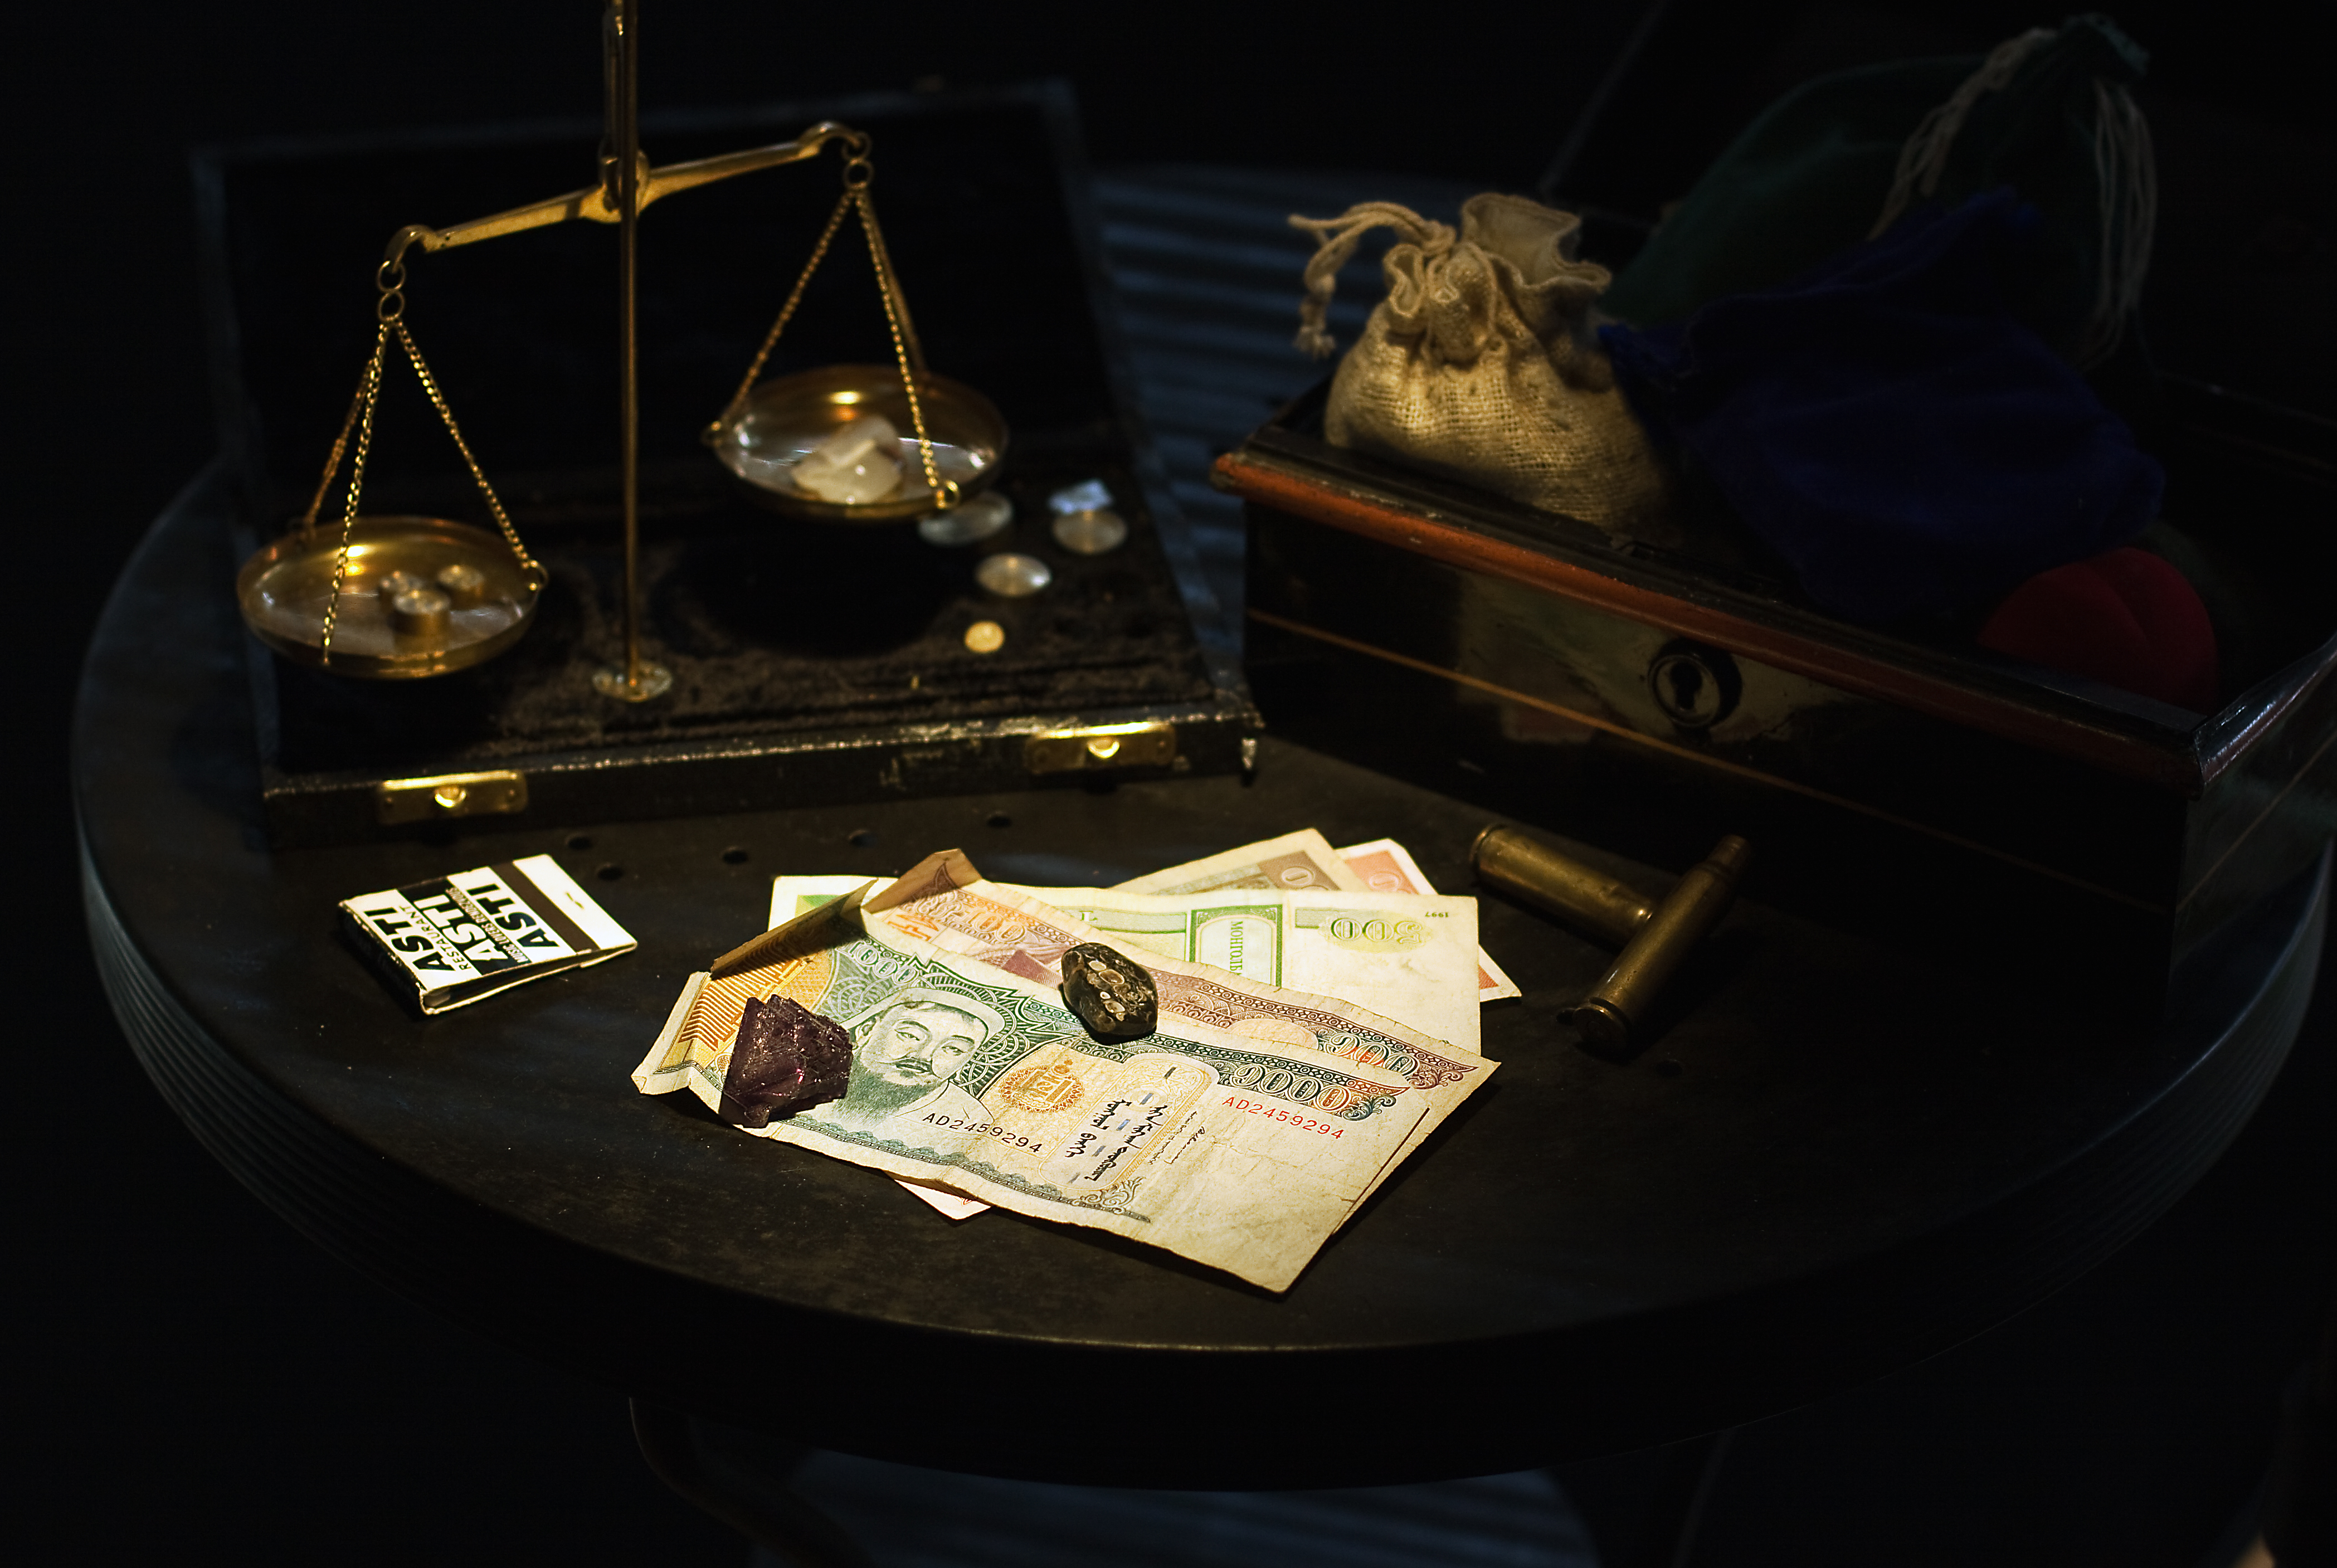
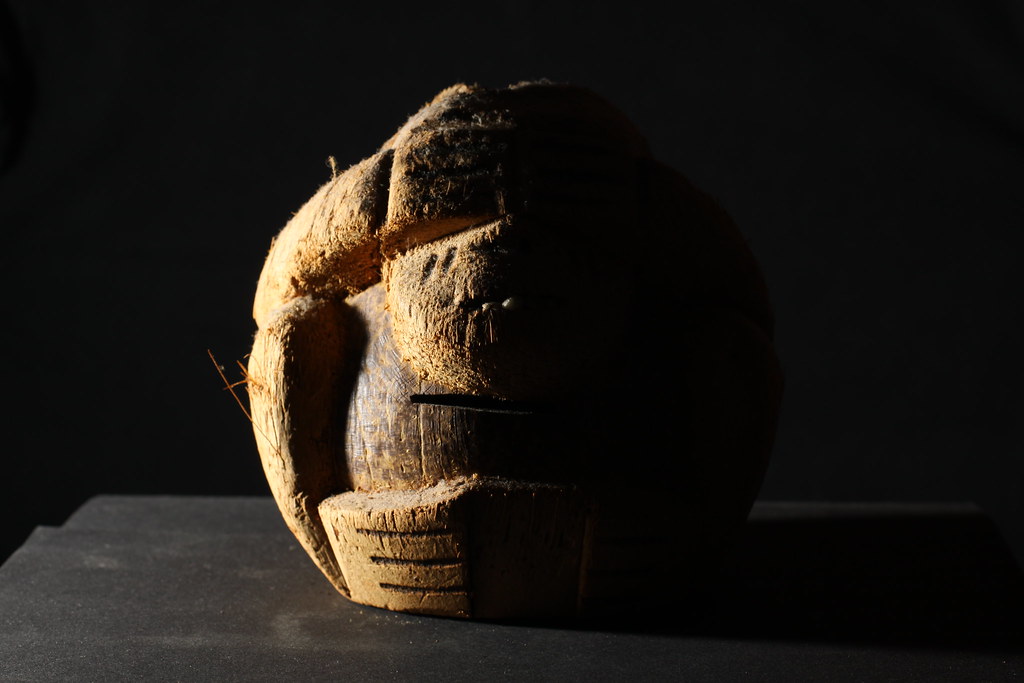
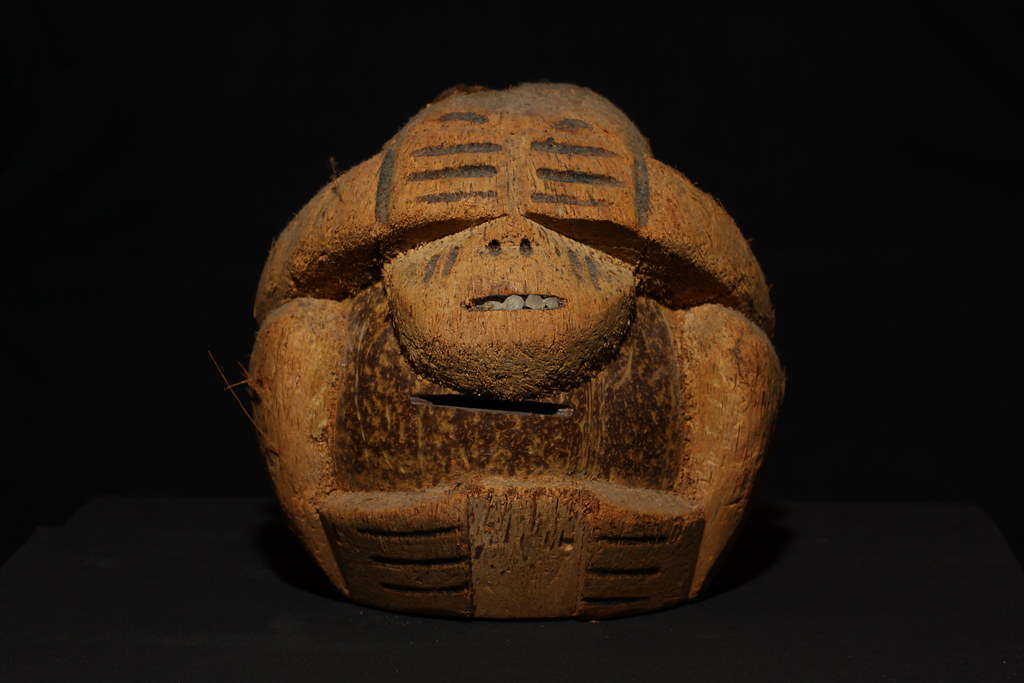
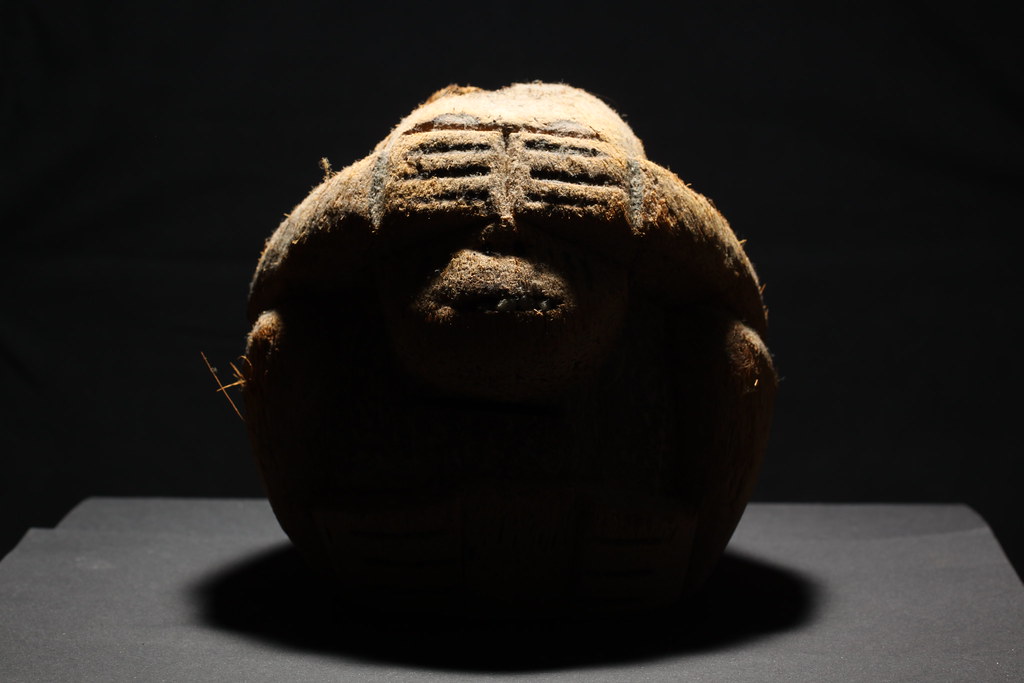
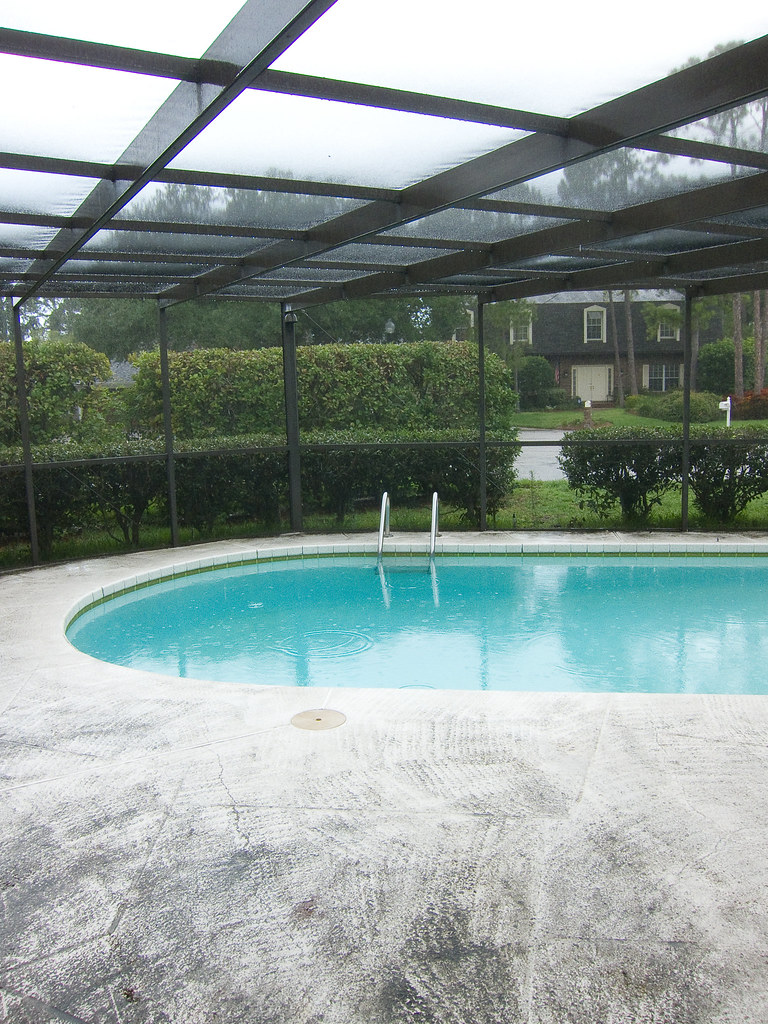
With white translucent diffuser:


Although the diffuser hasn't "killed" all the shadows it did a good job at redcuing and softening them. When looking at the shadow of the string holding the flintstone we notice quite a difference with the previous shot. The shadow is much more faded. More details are now visible in dark areas. I suppose a greater distance to the light soure would help removing the shadows.

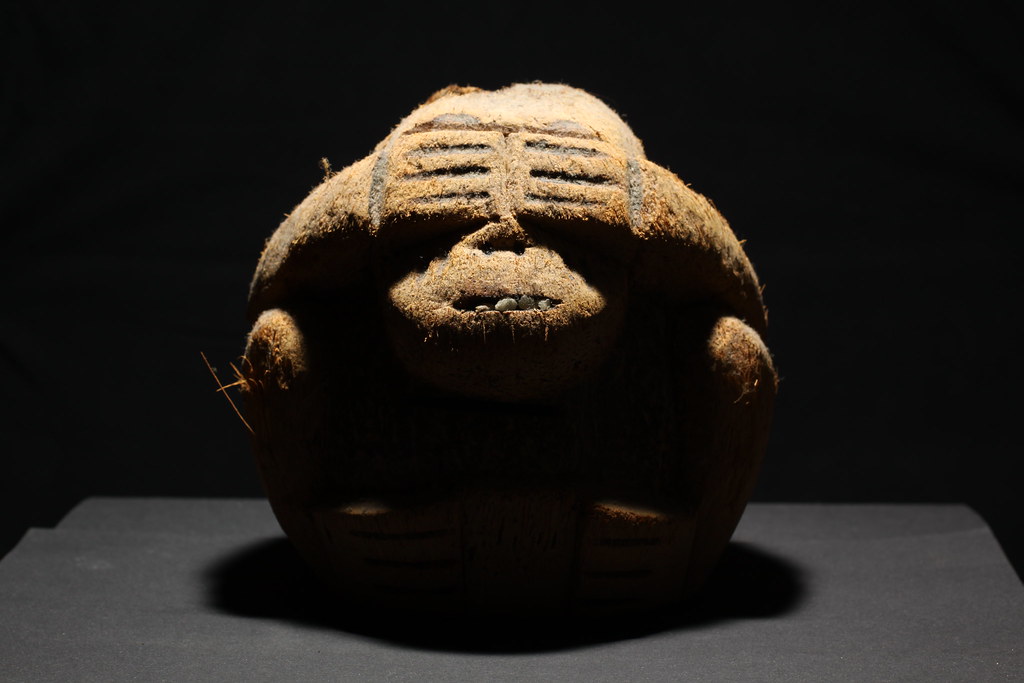
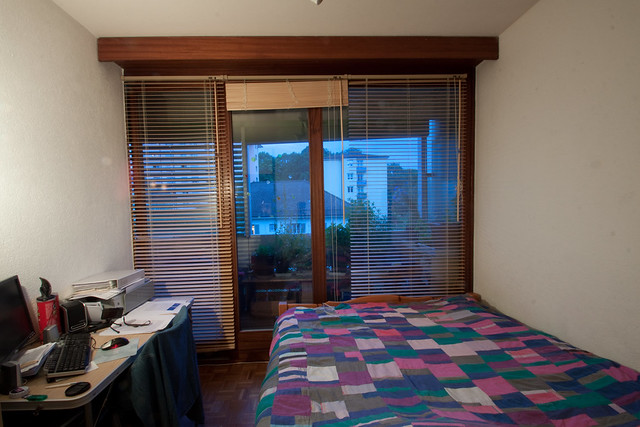
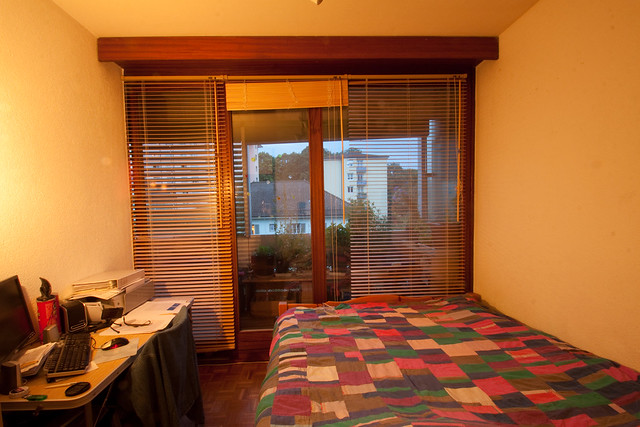
I like the softened picture more as the shadows in the first shot are aggressive and don't really add value to the picture. However, I can see how both approach could be used creatively depending on the scenario. Knowing that, I also understand that in some situations it would be unaceptable having any kind of shadow and a diffuser is inevitable in some cases.


Exercise: Using flash

test few lighting conditions with flash

Exercise: Shiny surfaces

4-10 photos

1) shiny object you can see your face in it. Lay flat on the floor, photog from above. Simple background (black)
Light close to the camera

Take 1 photo for reference


Make cone with tracing paper, large end surrounding object, small end surrounding lens.


Take 2nd photo

Move light in different positions.

Try covering reflection by placing object in front.


Exercise: Concentrating light

Use a snoot,

try cutting some light with black card


Here's the setup:


Reference Shot
The initial setup
With black paper clipped
on the Ikea Fluorescent light
There was still lots of
Daylight background light
 coming through the blinds
 I added  a black reflector
to  block some of the light


Final Shot


Final Shot, edited in photoshop

Exercise: Contrast and shadow fill

11 photos

Material: Big white card, alu foil as reflectors.

Simple still-life, not close to a wall

Exercise: The lighting angle

11 photos

Camera in fixed position, obect like sculpture, plain background,

1)  light with diffuser same level as subject and camera.

For this whole exercise I chose a coconut made sculpture which I felt would allow me to see the effects of lighting effectively. I've set a black background by hanging a black T-Shirt, left my camera on a tripod and used a Canon 580Ex2 off camera flash with a plastic diffuser on top. Using wireless triggers allowed me to move the flash in various positions. Here's the initial setup:


I then reduced ambient light to the bare minimum and only used the flash as the main source of light. White balance set to flash.

a) front (light next to camera)


b) side


c) from behind on a side


d)directly behind


2) Raise light and point down subject with 45 degrees angle, move light around


3) Light suspended overhead pointing down

a) directly overhead


b) slightly in front


c) slightly behind


Before commenting on the results I can already say I've been tricked by my own eyes when performing the exercise. As the room was almost completely dark my eyes adapted and what seems like overall dark pictures on the screen now looked perfectly exposed when reviewing them on my camera LCD. The pictures above were from my second attempt after increasing flash power.


Exercise: Tungsten and fluorescent lighting

1) 3 images, image with the interior lit with tungsten light and the outdoor visible at dusk.

White Balance: Auto


when light inside and outside is equal take 3 photos with WB set to a) Auto b) daylight c) tungsten

White Balance: Auto

White Balance: Tungsten
White Balance: Daylight


2) interior lit by fluorescent light, 4-6 images

2 locations, with WB set to a) Auto b) fluorescent c) alternative fluorescent


Exercise: Cloudy weather and rain

1) 4-6 images, same view in sunlight then under cloud, white balance set to daylight

Sunny :


Cloudy (raining)


Sunny


Cloudy


2) 3 images, overcast day, (object with details like root of an old tree and object with strong colour)

3) 2 images on a rainy day


Exercise: Variety with a low sun

any subject in sunlight

1)frontal lighting


2)Side lighting


3)Back lighting


4)Edge lighting


Exercise: Light through the day

about 12 images

This set of images was shot on 10th and 11th April 2011

http://flic.kr/s/aHsjvzsA5r