Min 12 images with normal ISO and high ISO.
The aim here is to compare similar images taken at low and high ISO sensitivity. Even though the results can be quite predictable I am curious to find out how much difference in can make when viewed at 100%.
As a beginner I always heard keeping a low ISO is a must for good picture quality so it's easy to fall in the trap of never taking the options of a higher ISO, a mistake I've made many times ..
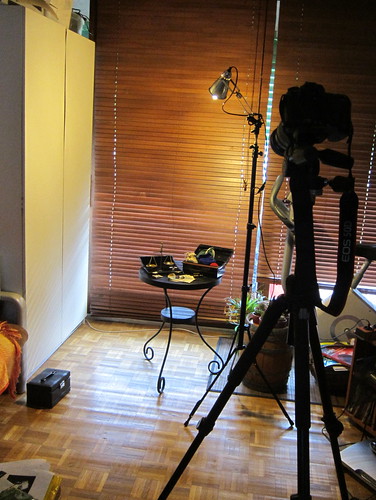
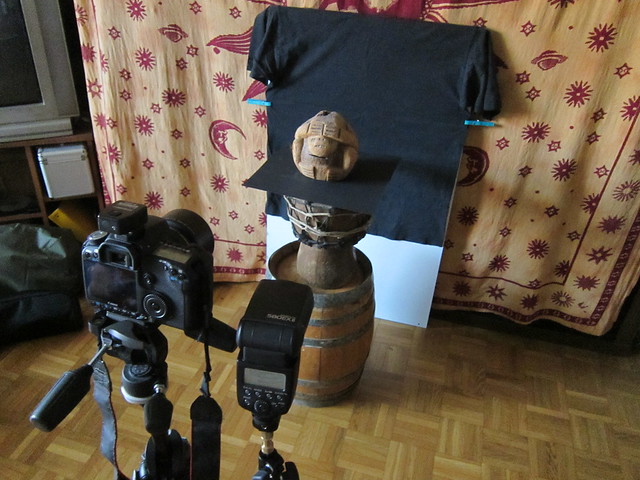
For this exercise all subjects were shot in low available natural light areas and handheld. The first images of each set is shot with a low ISO and the second with a High(er) ISO, copies of similar parts in each images is then compared zoomed in at 100%
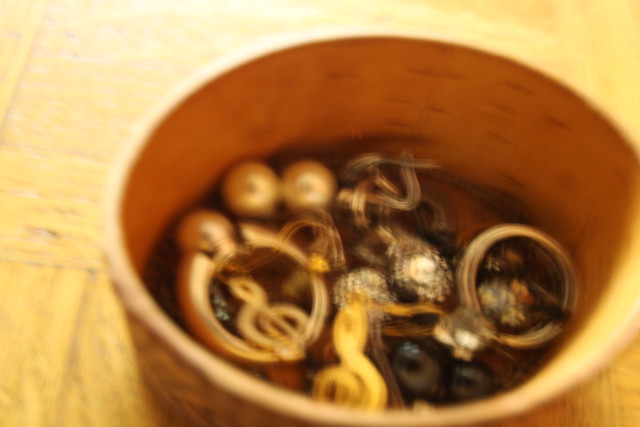 |
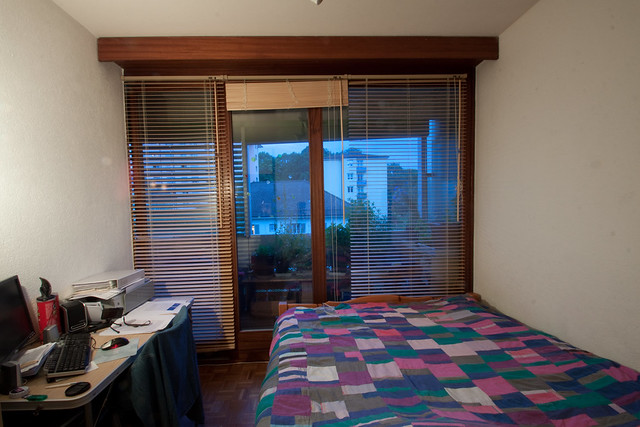
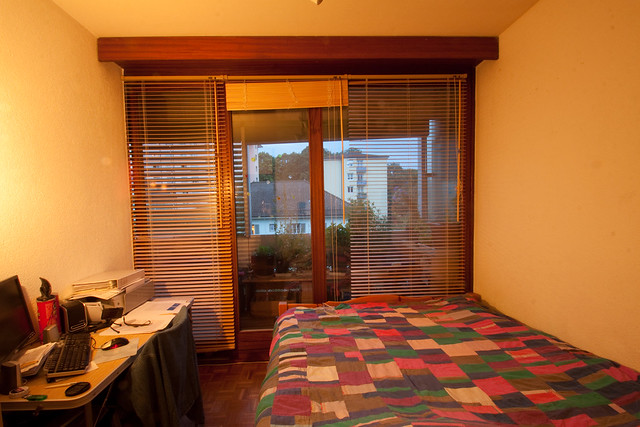
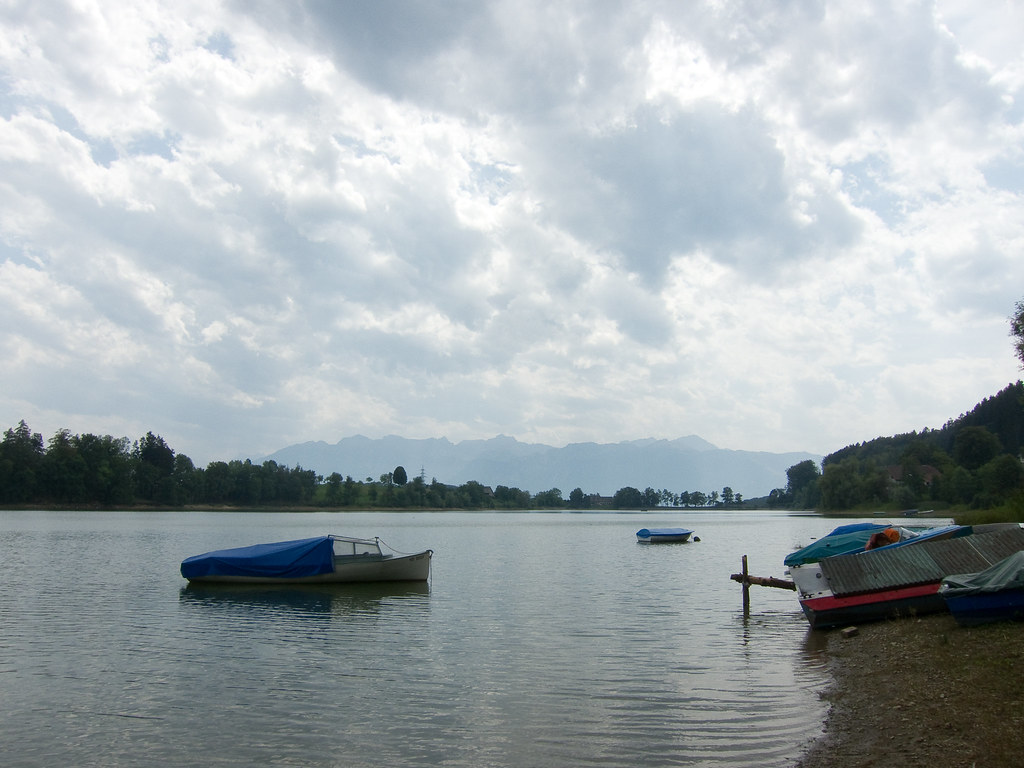
| Canon EOS 50D, f/5.6, 24 mm, 2 seconds, ISO 100 |
 |
| Canon EOS 50D, f/5.6, 24 mm, 0.067 s, ISO 3200 |
|
|
Zoomed at 100%
 |
| ISO 100 |
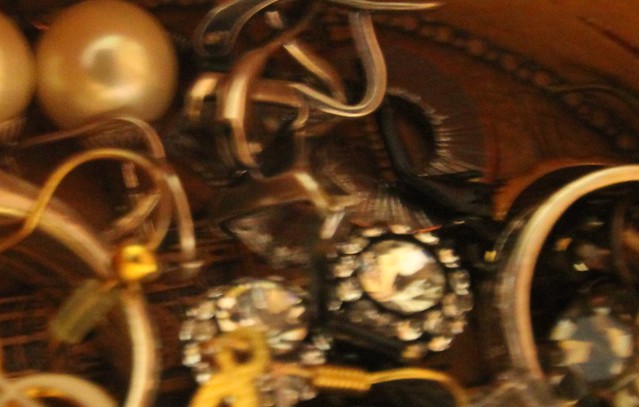 |
| ISO3200 |
Although the second picture was around 30 times faster than the first one due to the dramatic ISO increase from a 100 to 3200 the image doesn't look so sharp. 1/15th second isn't a fast enough shutter speed to keep a handheld camera still but the clarity increase in the picture proves a point.
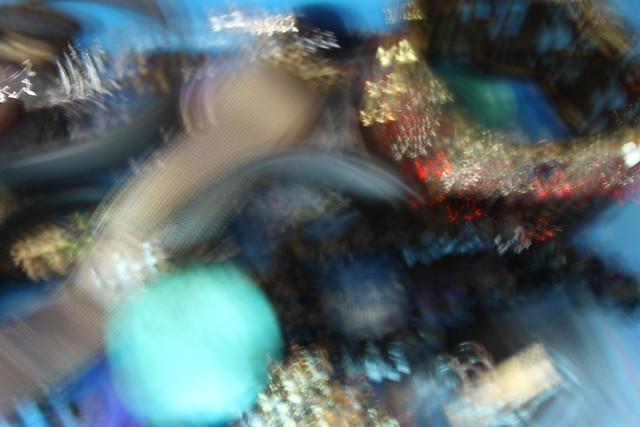 |
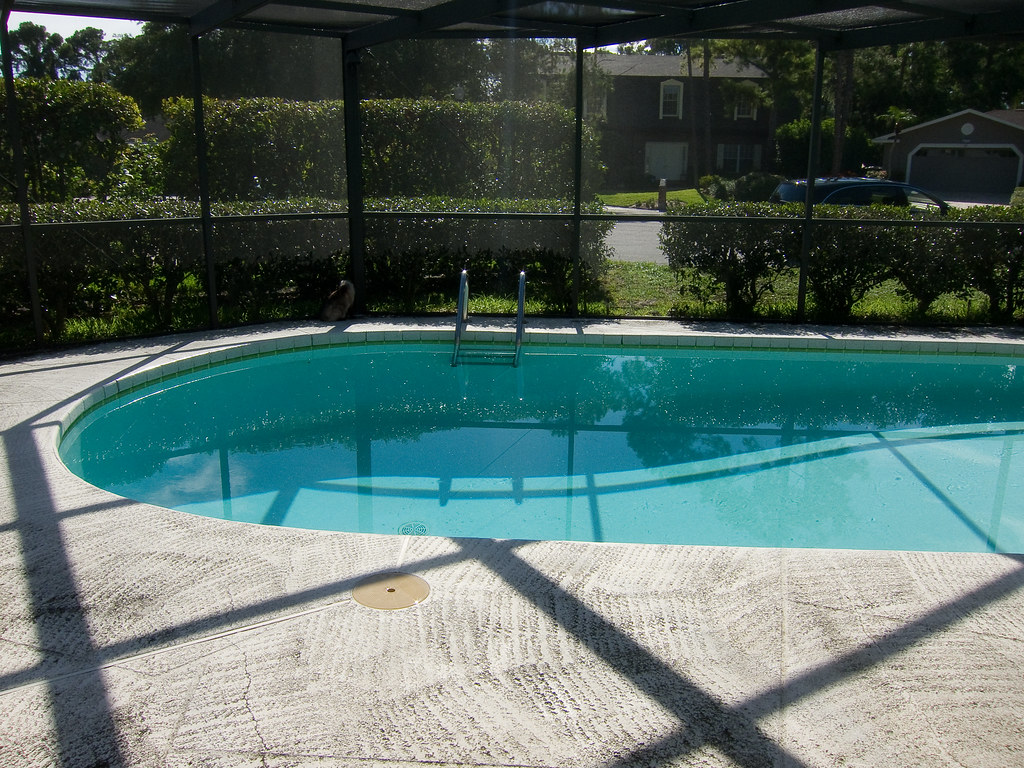
| Canon EOS 50D, f/4.0, 24 mm, 2 s, ISO 100 |
 |
| Canon EOS 50D, f/4.0, 24 mm, 0.1 s, ISO 3200 |
Zoomed at 100%
 |
| ISO 100 |
 |
| ISO 3200 |
The ISO increase in the second picture really makes no doubt about how wrong one can be taking chances with a low ISO handheld
 |
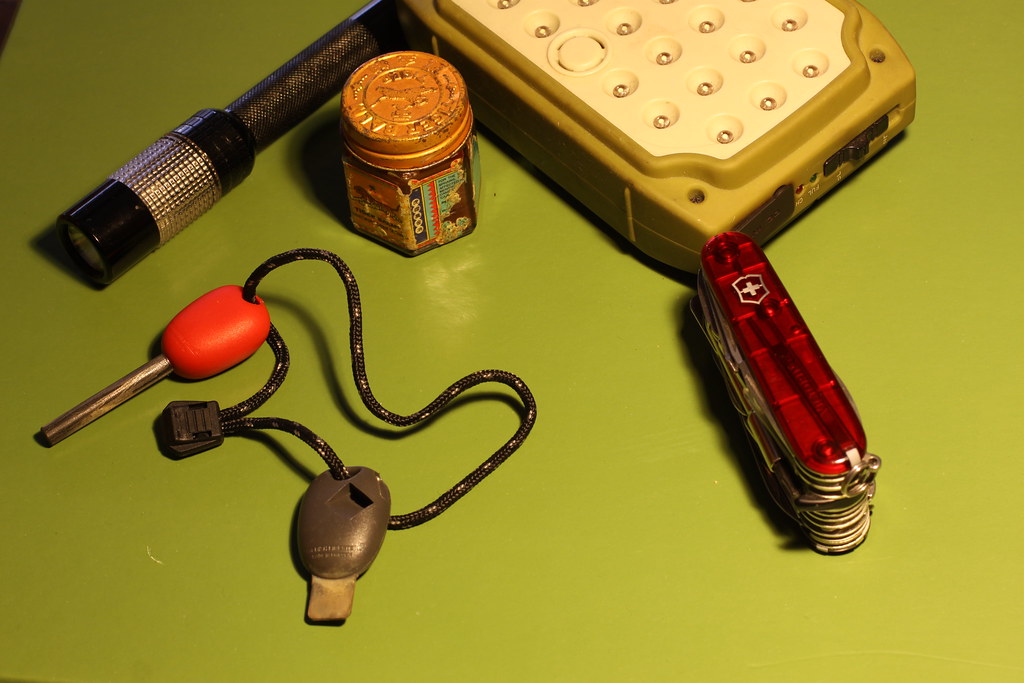
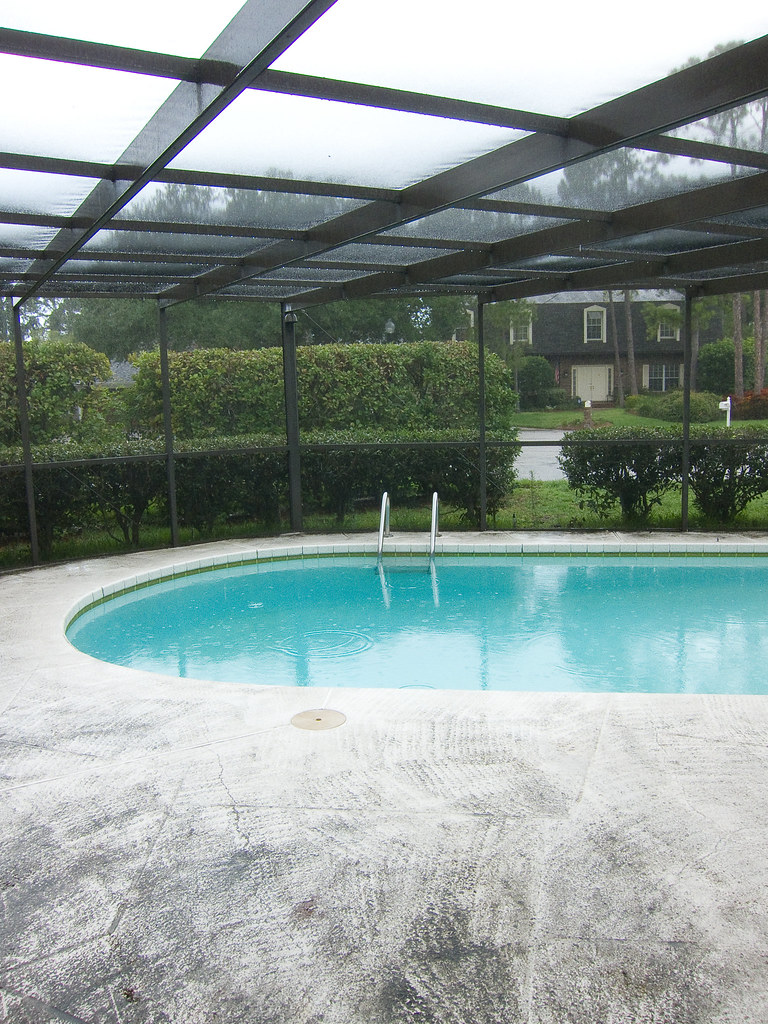
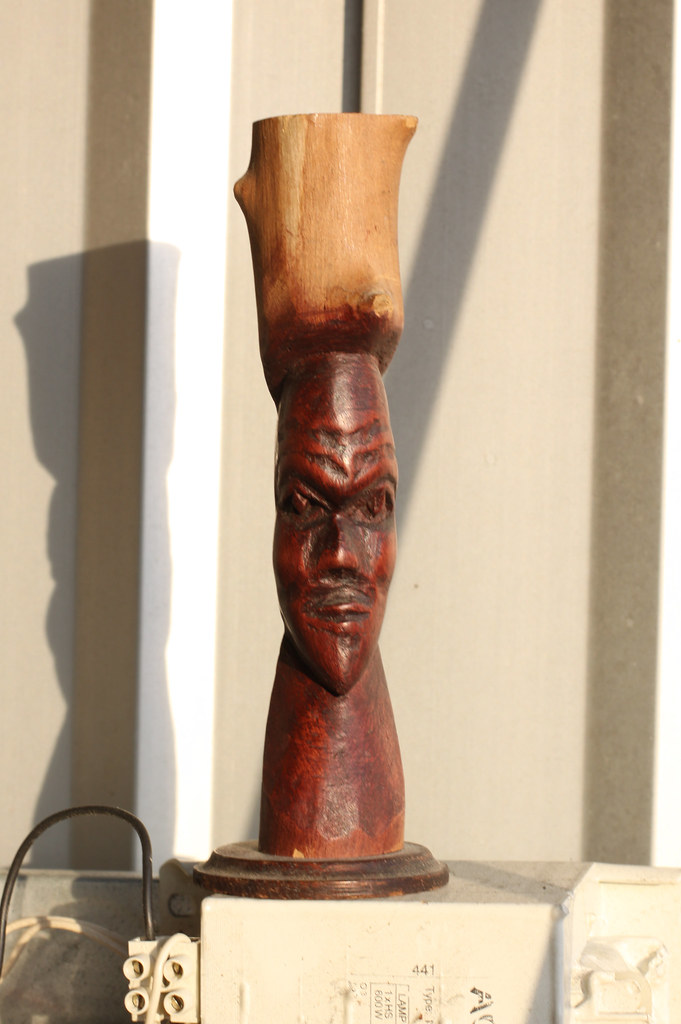
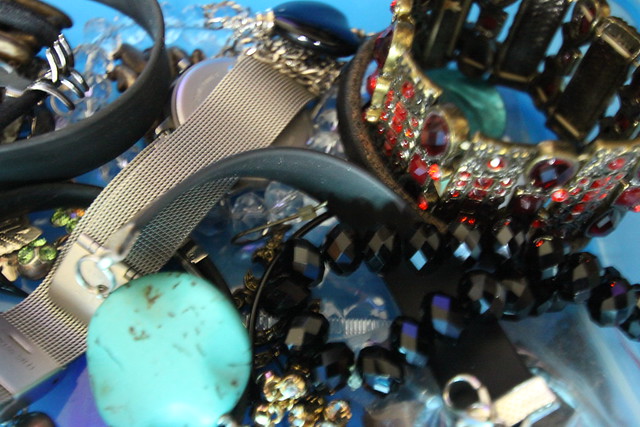
| Canon EOS 50D, f/8.0, 22 mm, 1 s, ISO 100 |
 |
| Canon EOS 50D, f/4.0, 22 mm, 1/45 s, ISO 1250 |
Zoomed at 100%
 |
| ISO 100 |
|
 |
| ISO 1250 |
The boost in ISO in the second picture did help alot in making the picture sharper. An ISO up to 1500 or higher could have helped even more but 1250 was enough to make it near acceptable, while the original picture is too blurry to make anything of it.
 |
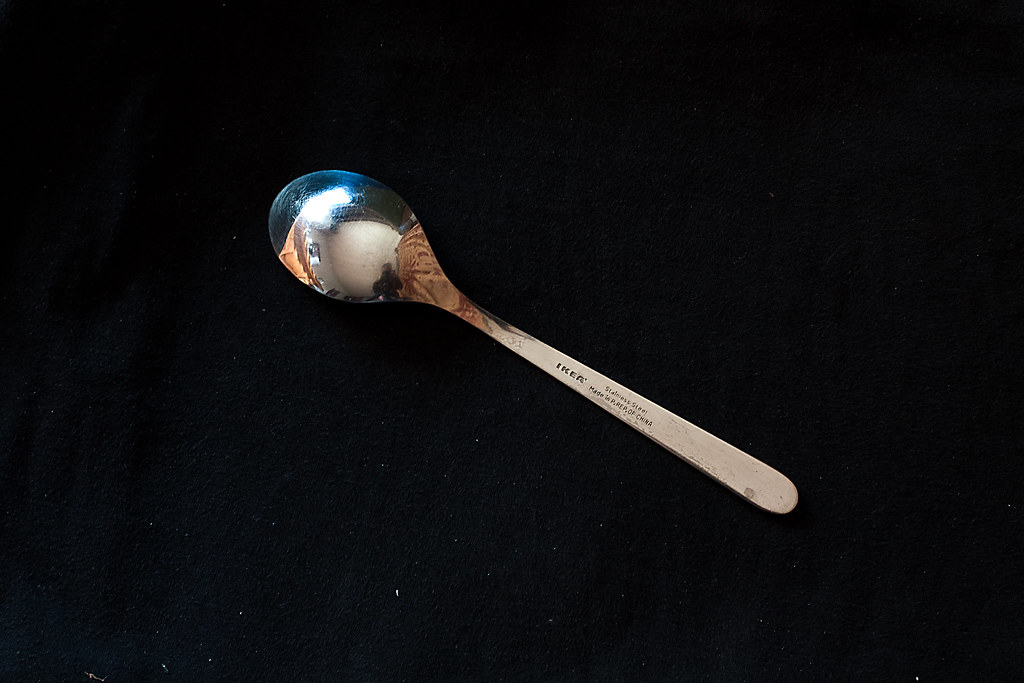
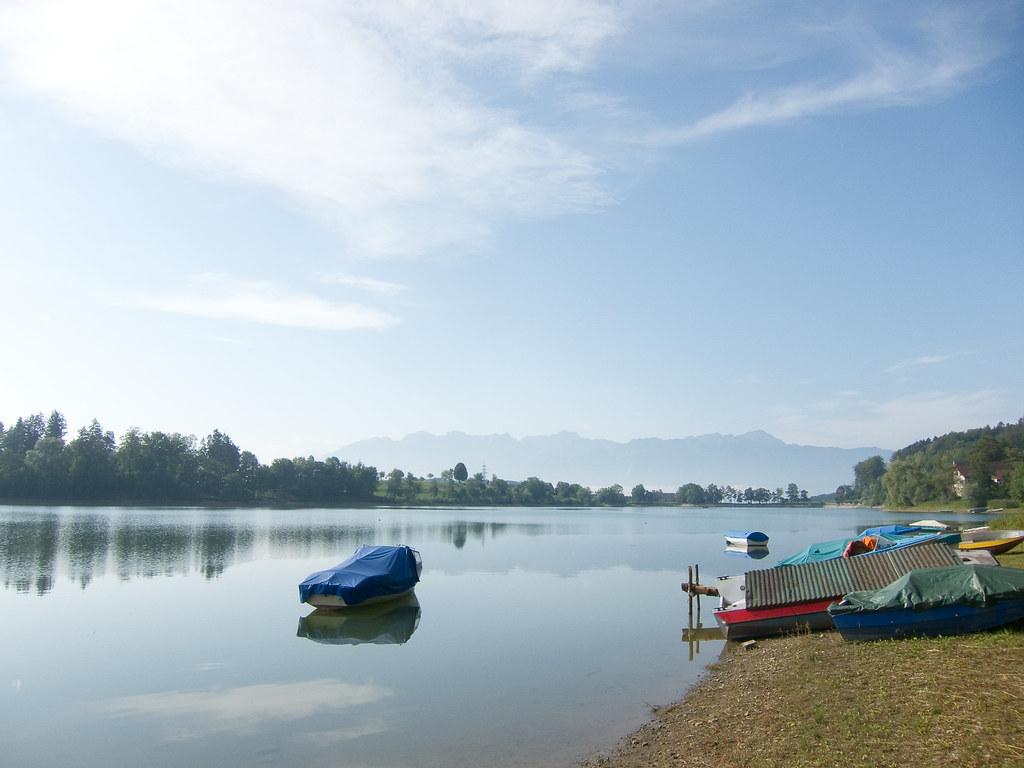
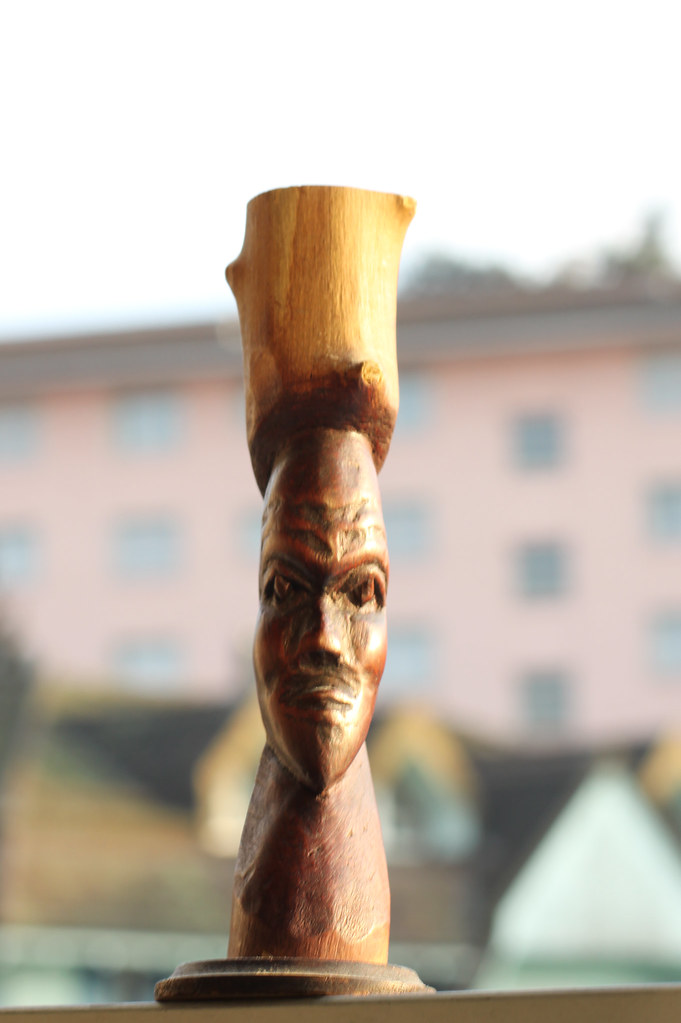
| Canon EOS 50D, f/4.0, 24 mm, 0.3 s, ISO 100 |
 |
| Canon EOS 50D, f/4.0, 24 mm, 1/20 s, ISO 800 |
Zoomed at 100%
 |
| ISO 100 |
 |
| ISO 800 |
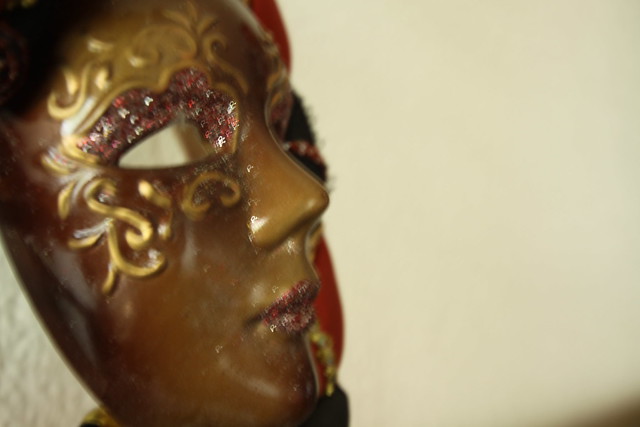
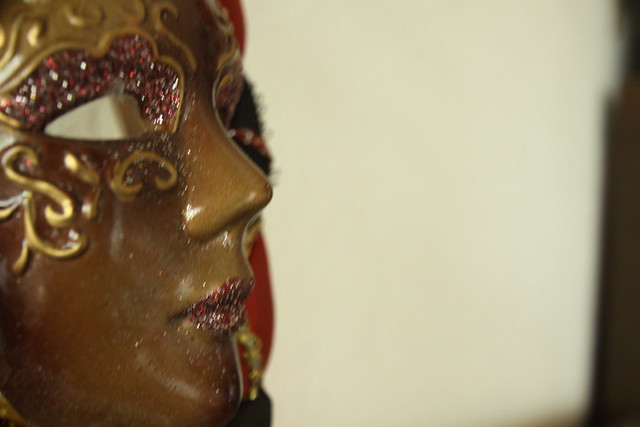
In the 100% cropped version lines are more visible although the shiny parts are not clearly defined. The picture quality at ISO 100 is not acceptable unless it is resized smaller for the web or low quality illustration. At ISO 800 some parts are still blurry but leaves it usable.
|
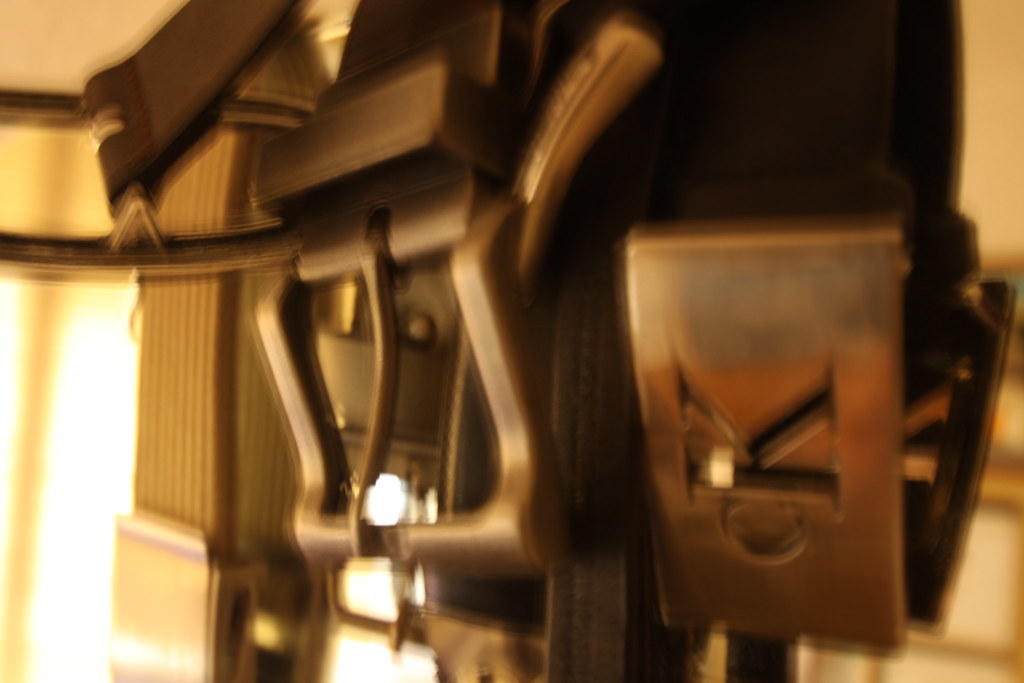
| Canon EOS 50D, f/4.0, 24 mm, 1.5 s, ISO 100 |
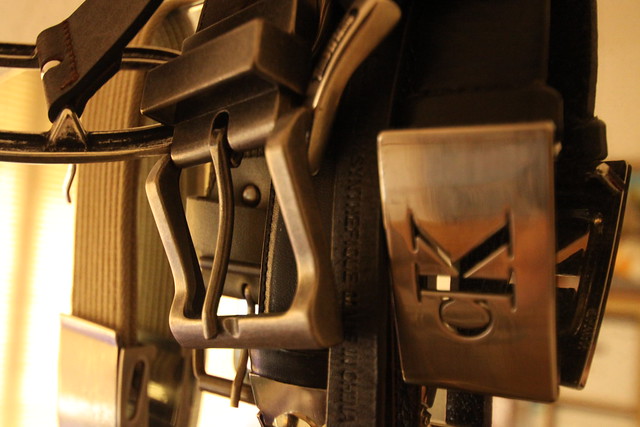 |
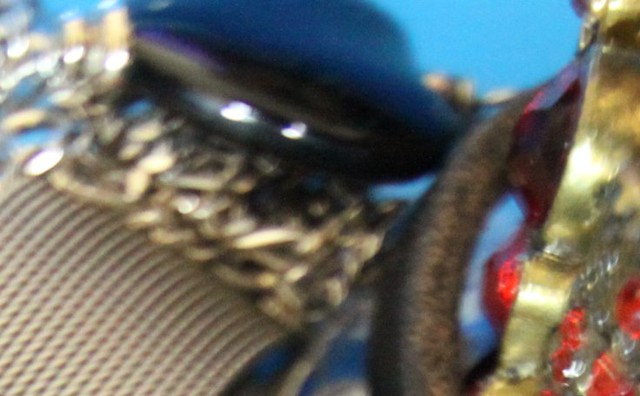
Canon EOS 50D, f/4.0, 24 mm, 1/15s, ISO 2000
|
Zoomed at 100%
 |
| ISO 100 |
 |
| ISO 2000 |
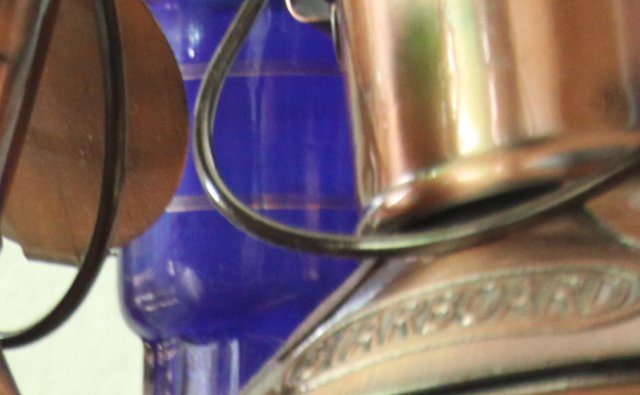
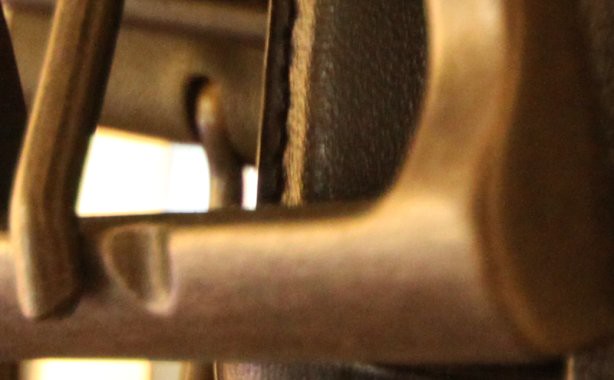
Here I think ISO 2000 was good enough for the belt to be sharp enough.
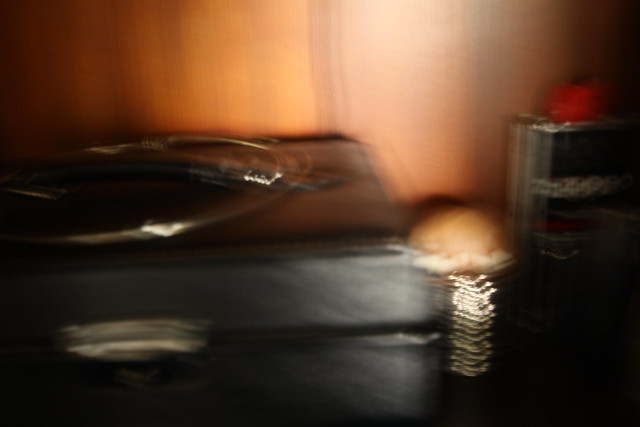 |
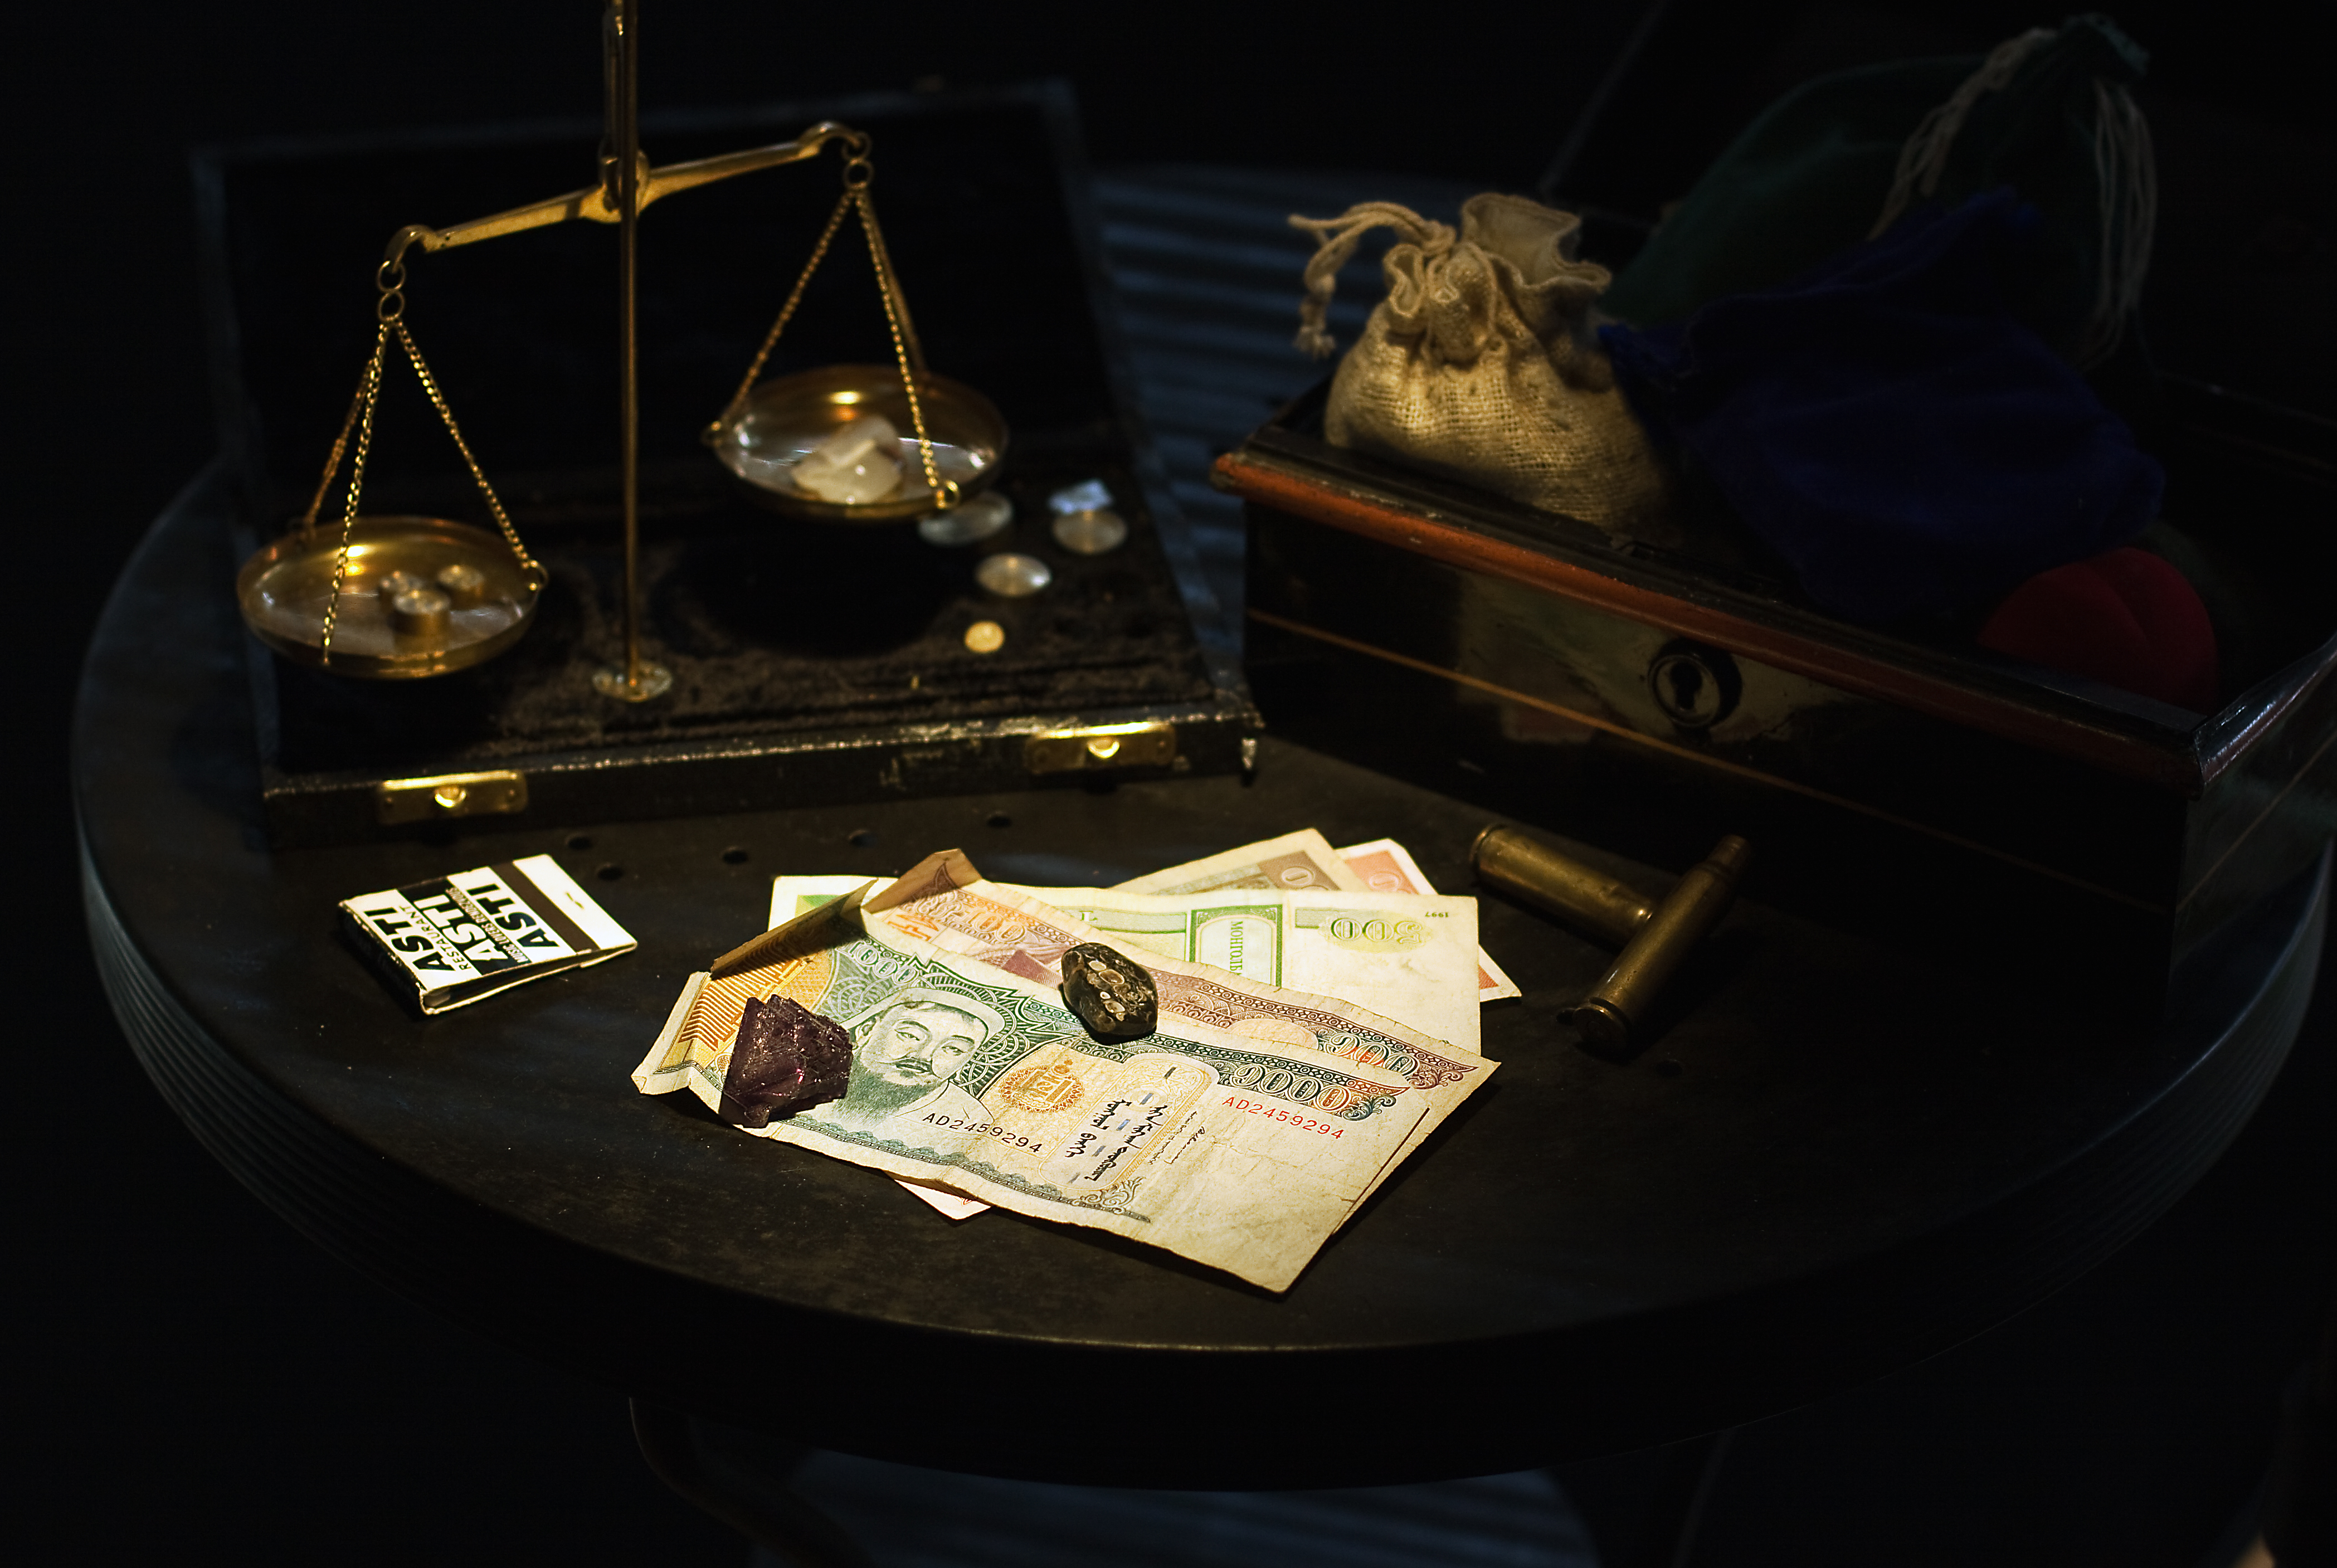
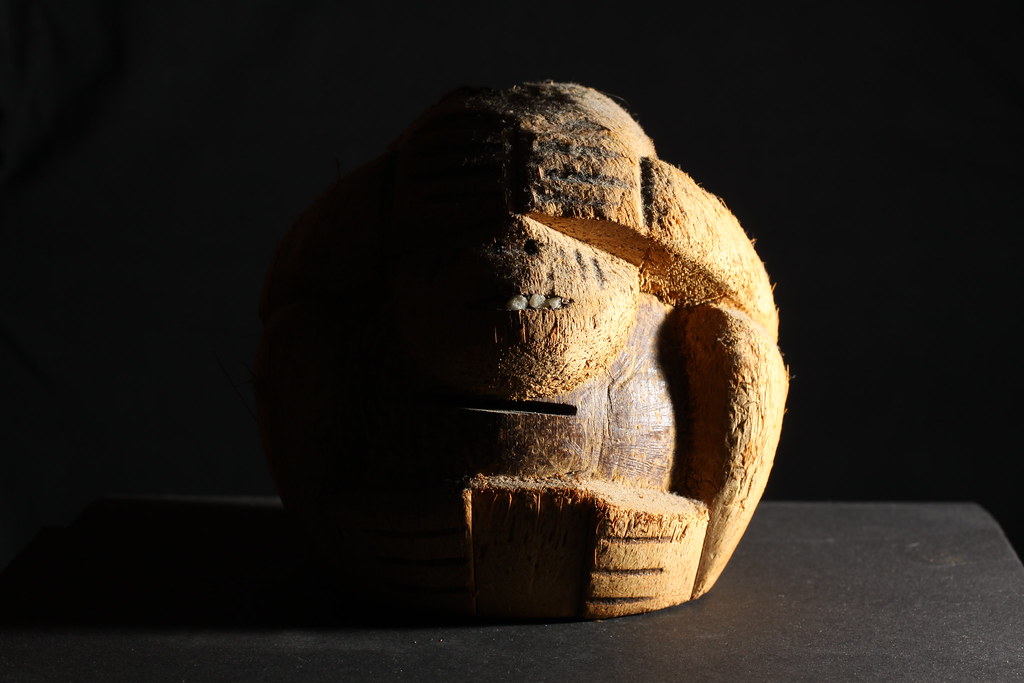
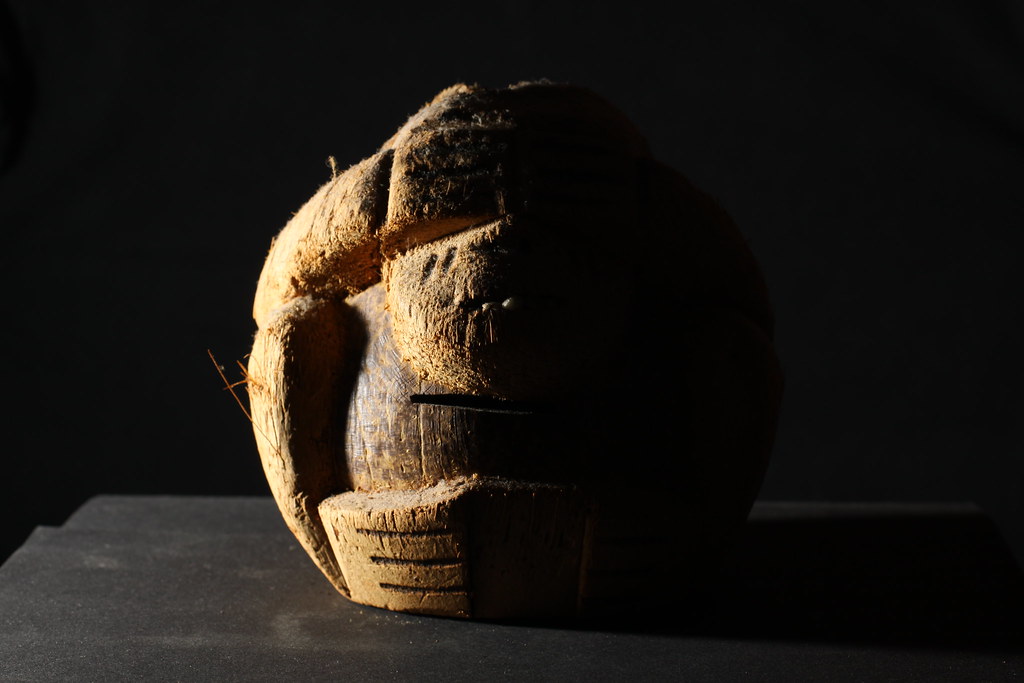
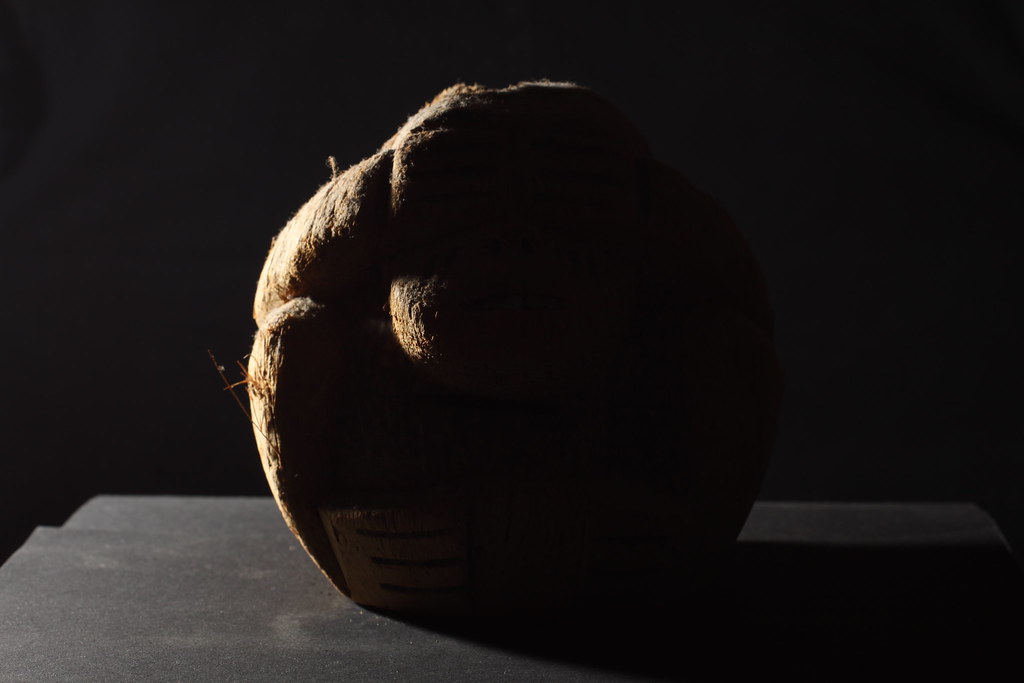
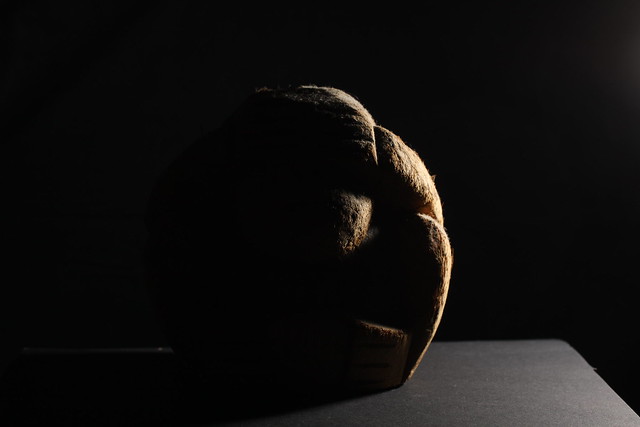
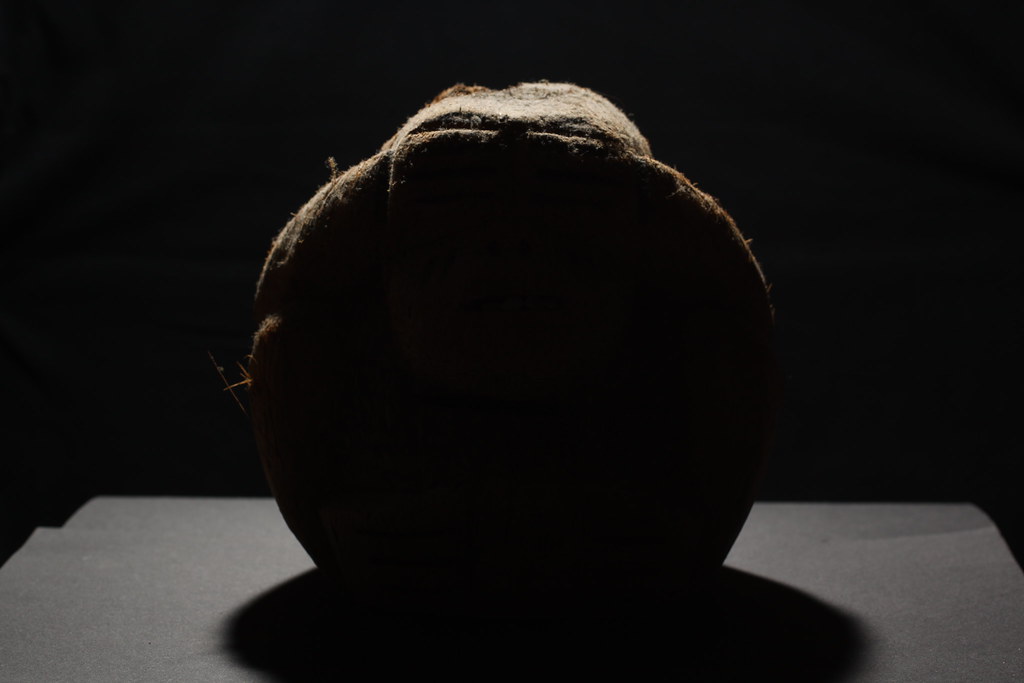
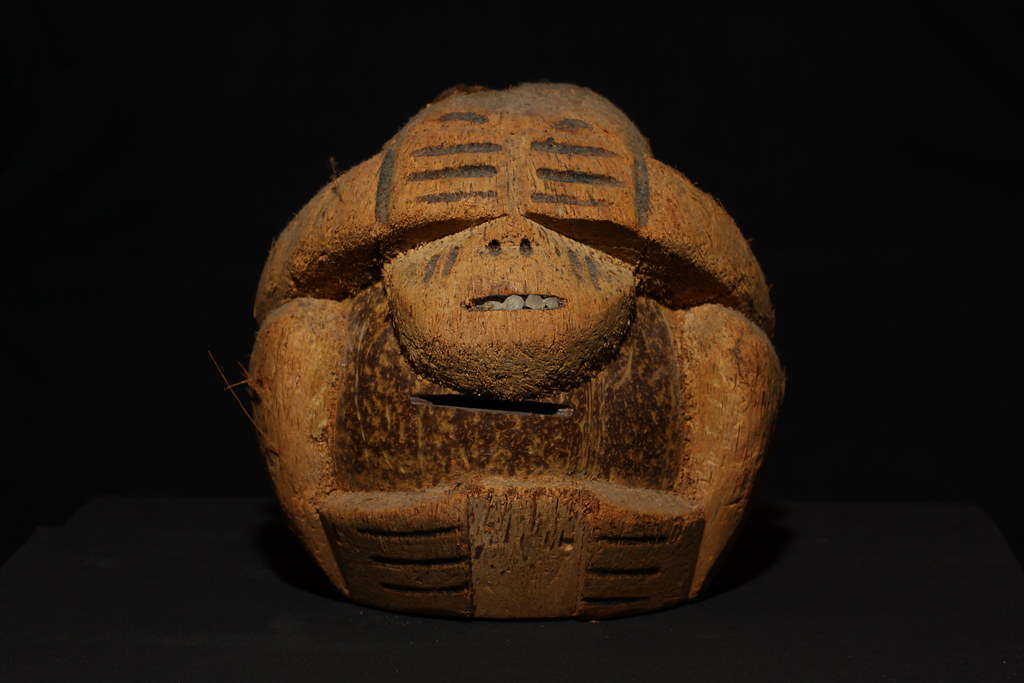
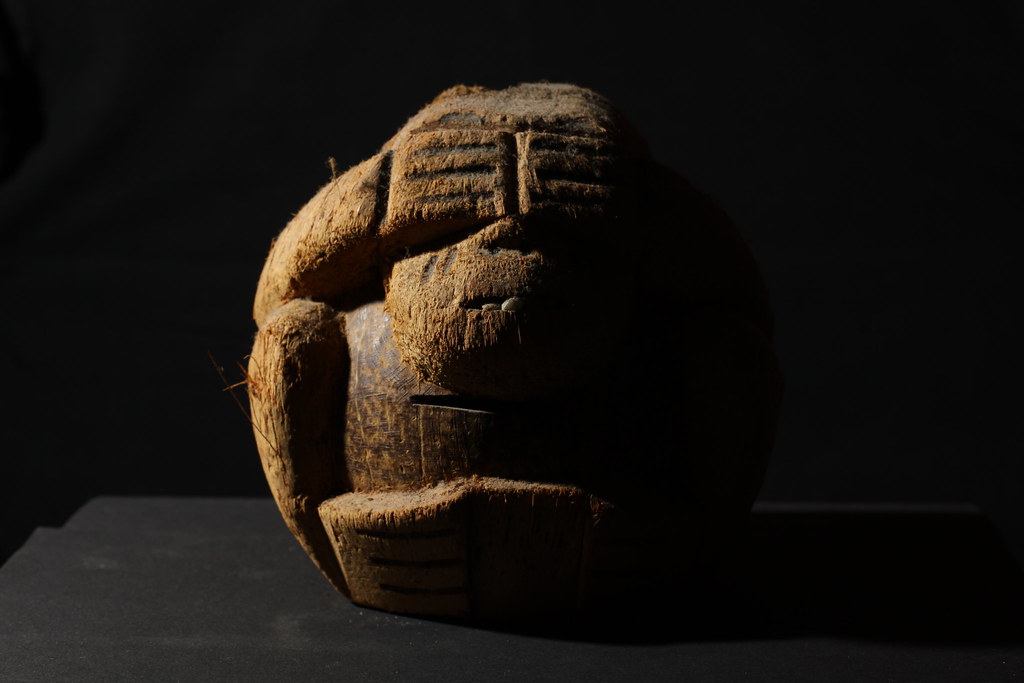
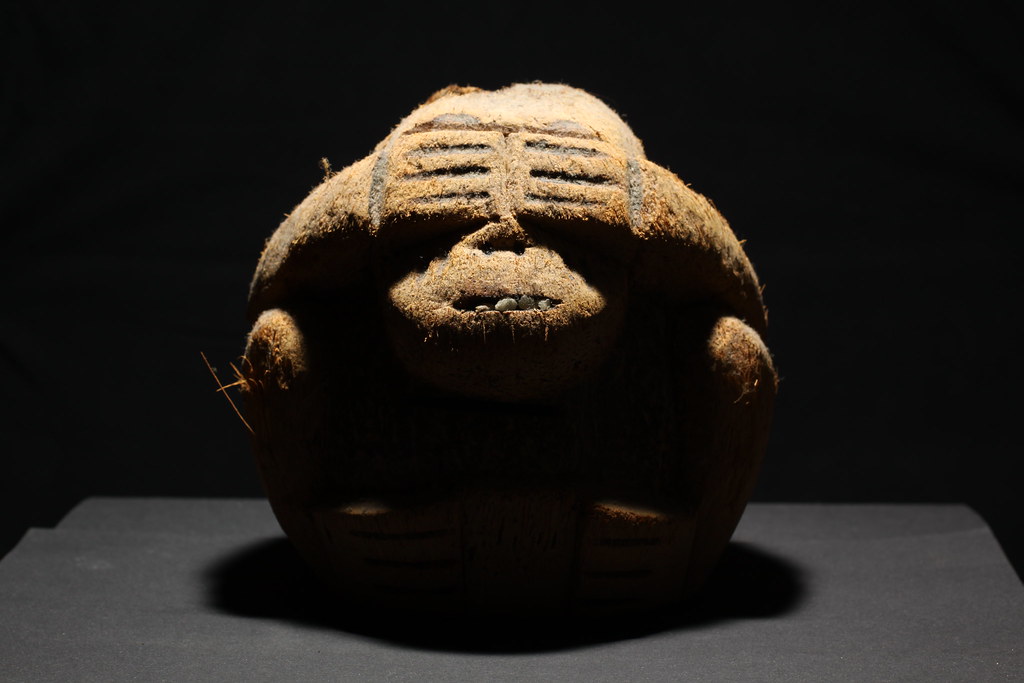
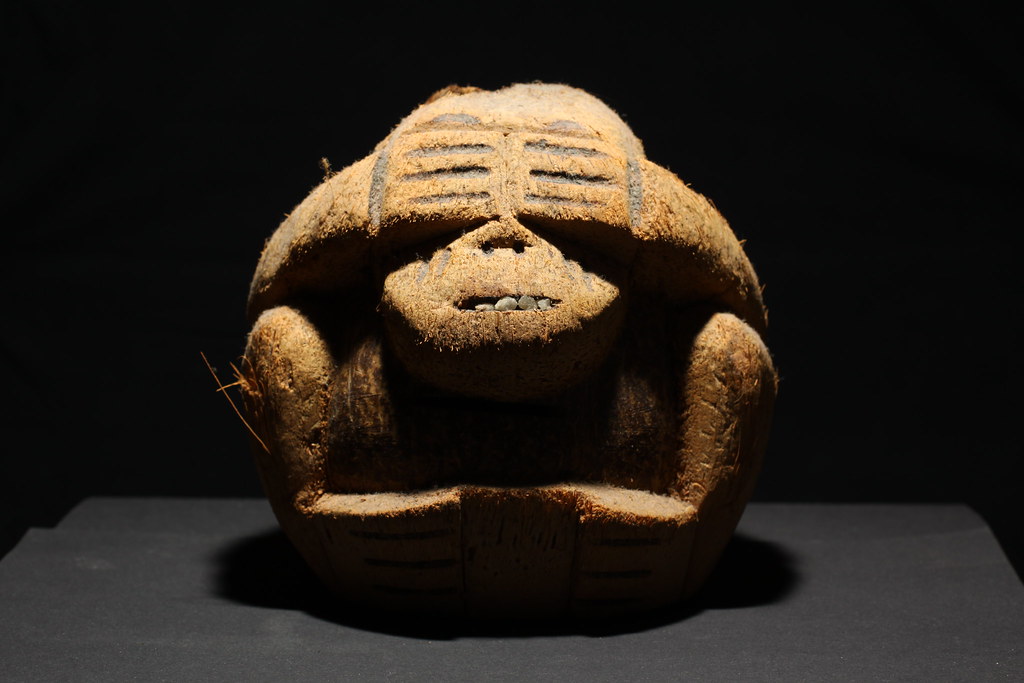
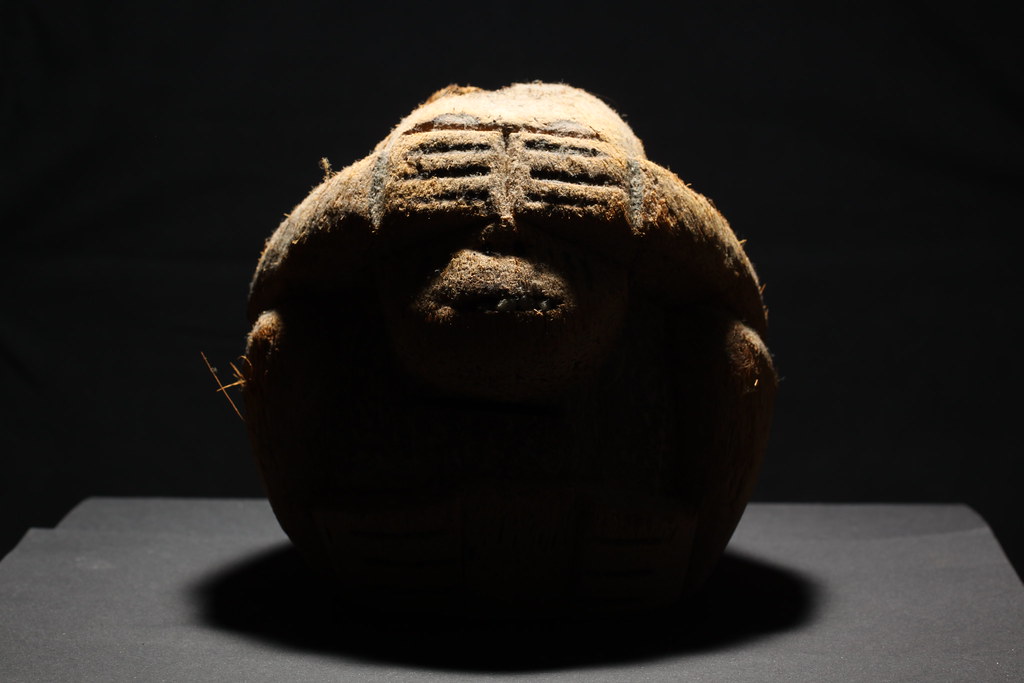
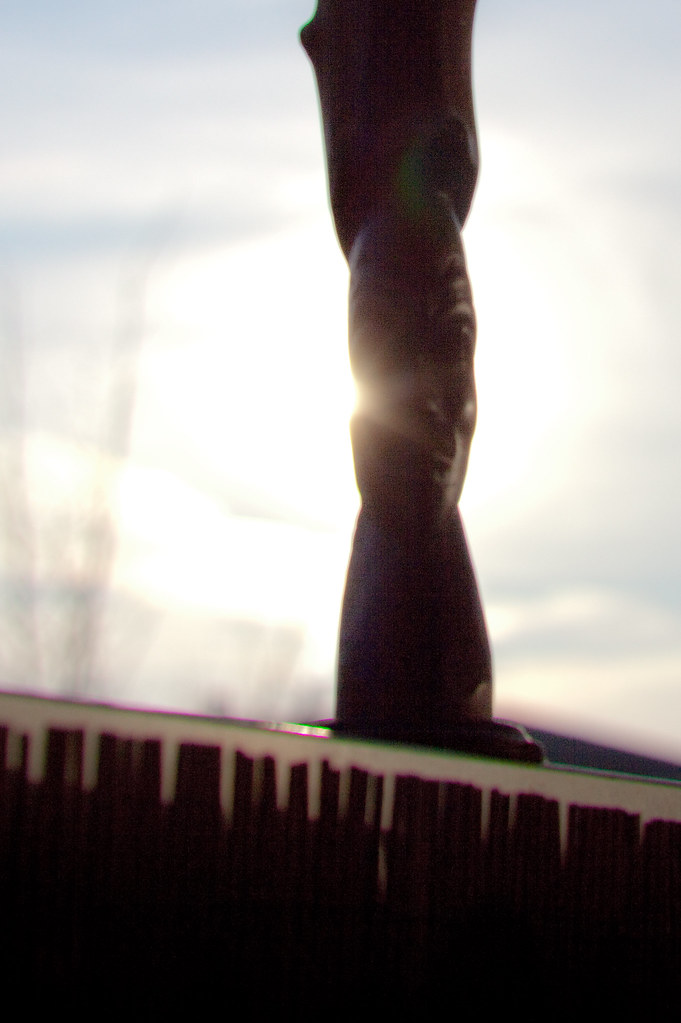
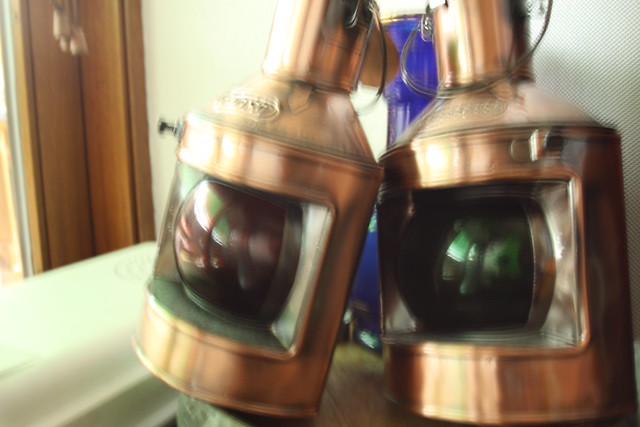
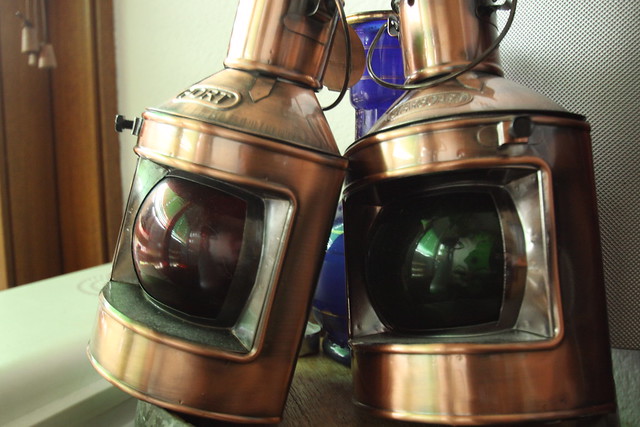
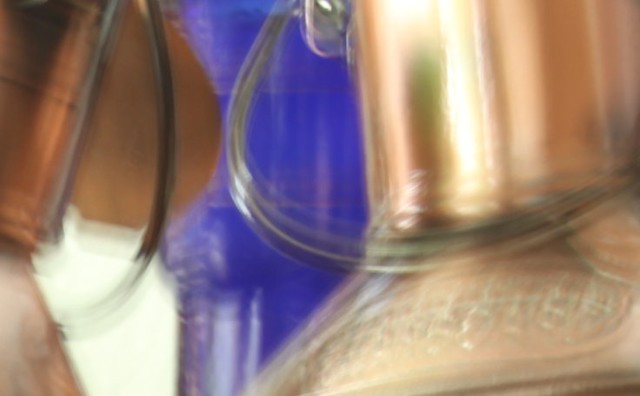
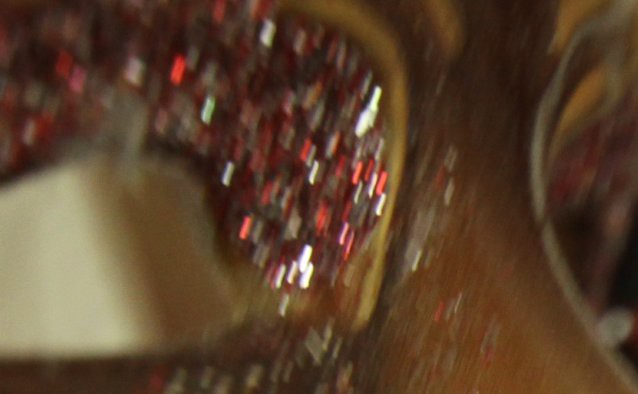
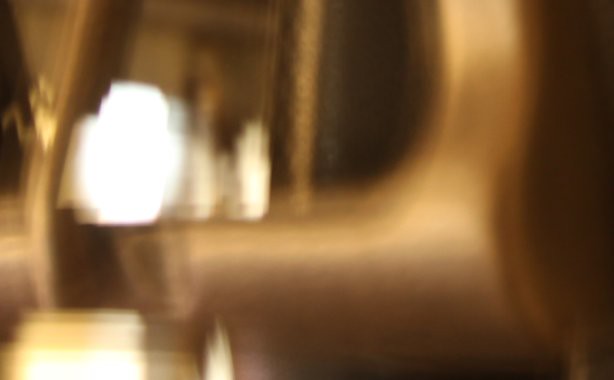
| Canon EOS 50D, f/4.0, 24 mm, 6 s, ISO 100 |
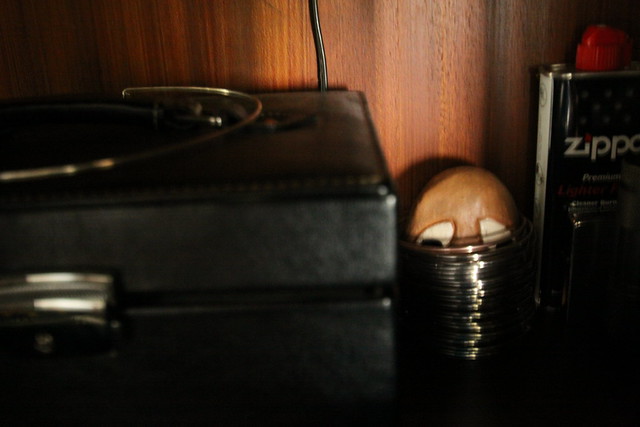 |
| Canon EOS 50D, f/4.0, 24 mm, 1/4 s, ISO 3200 |
Zoomed in at 100%
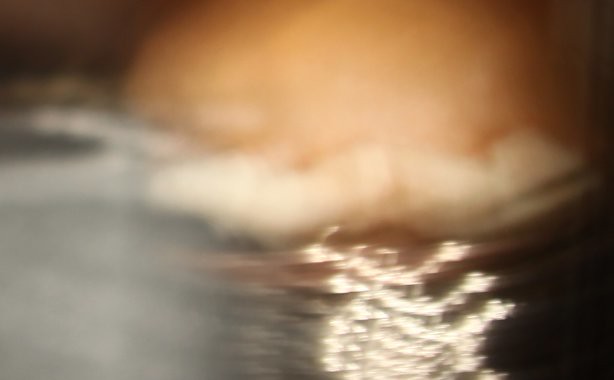 |
| ISO 100 |
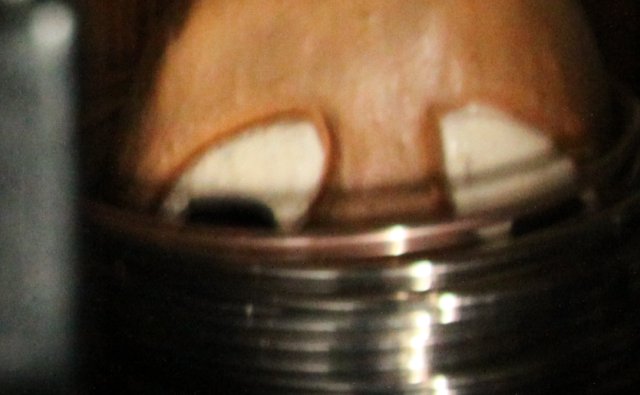 |
| ISO 3200 |
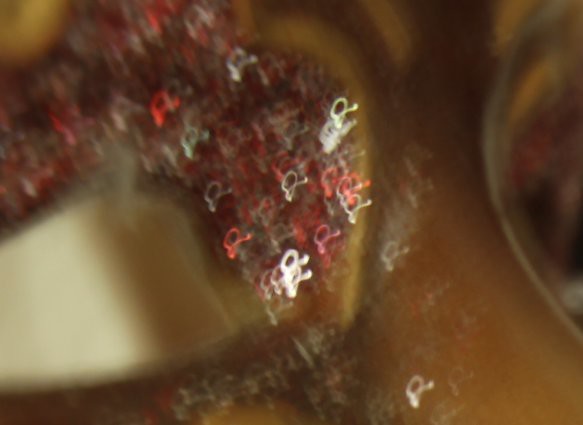
A Higher boost of ISO could have helped in this situation but my camera is limited to 3200. What's clear here is the first at ISO 100 is useless and the main subject (the 2 eyed creature) is in no way noticeable.
I am somehow surprised by the result of this exercise and it is now clear to me how I under-estimated the advantages of an ISO increase and over-estimated its disadvantages.The noise resulting from higher ISO is not a big downside in most images, unless their ultimate goal is to be used as stock photography or printed very large.
A little noise reduction could always be used if necessary. In the exercise above I fell none of the lower iso pictures could be usable as opposed to the higher ISO ones.
As tempting as it may be to keep the ISO low, I now think it's a much better option to go straight to a much higher ISO when light is low and shooting handheld. I'd rather risk having the image too noisy than to blurry, the latter being unusable in most cases.