6 photographs.
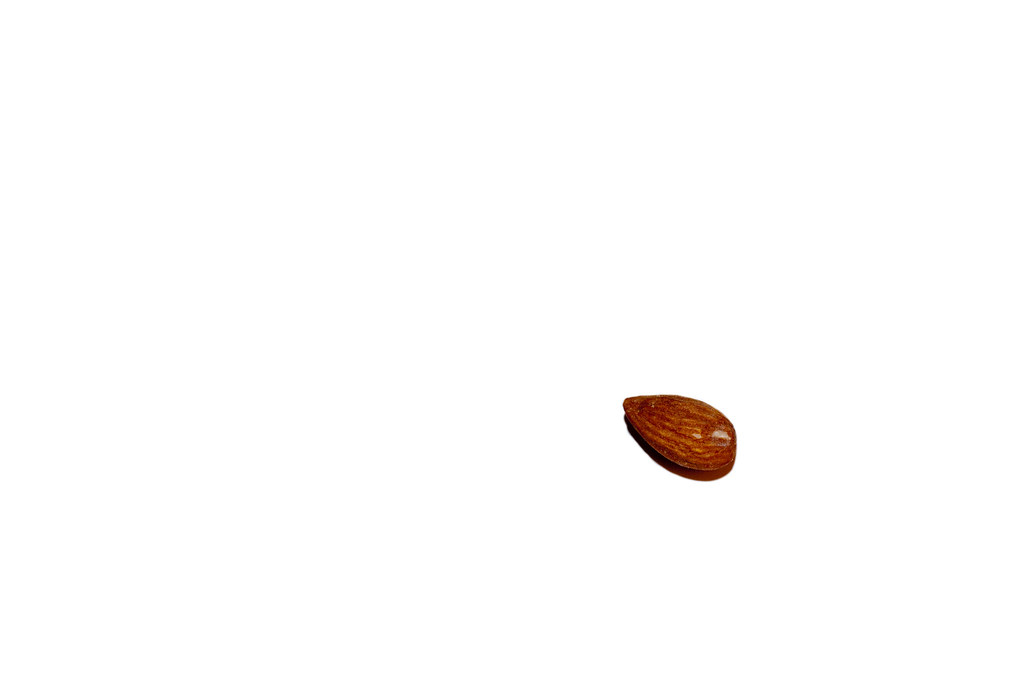
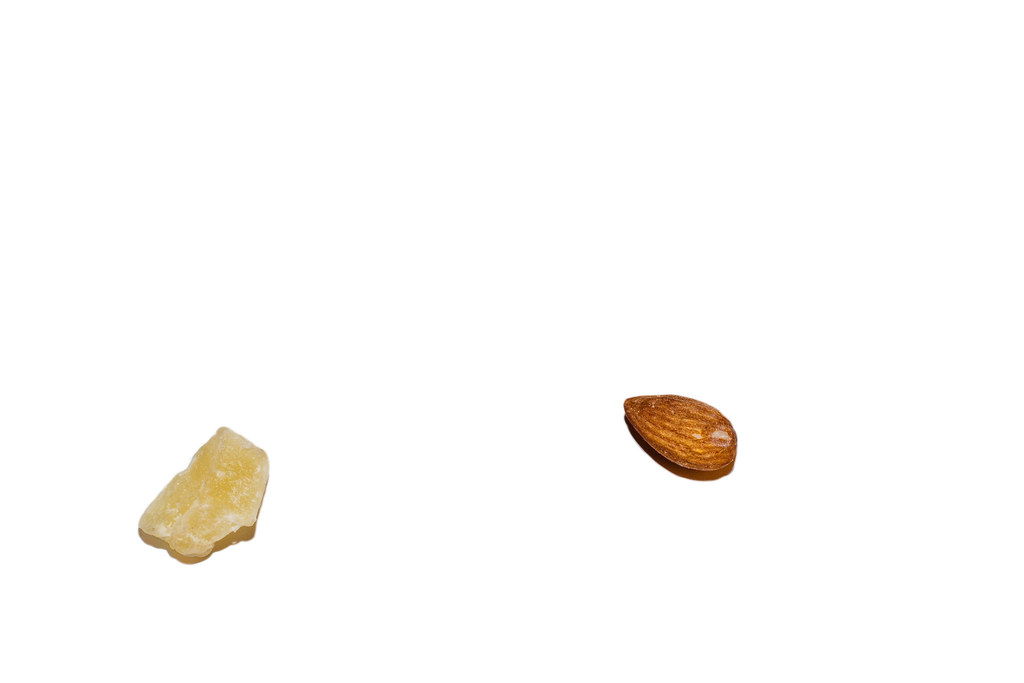
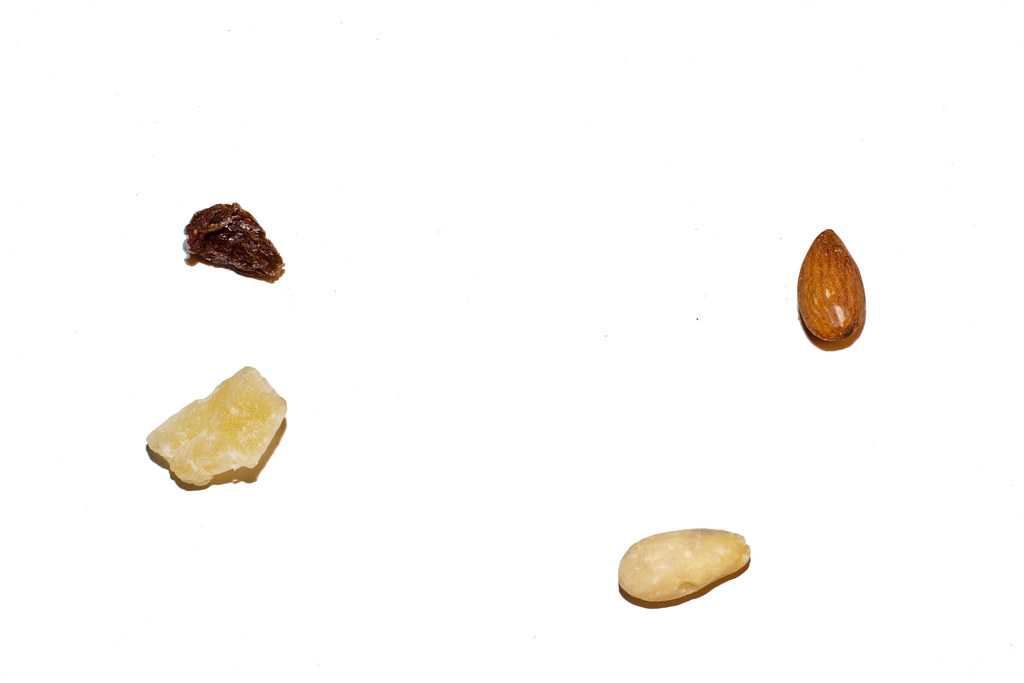
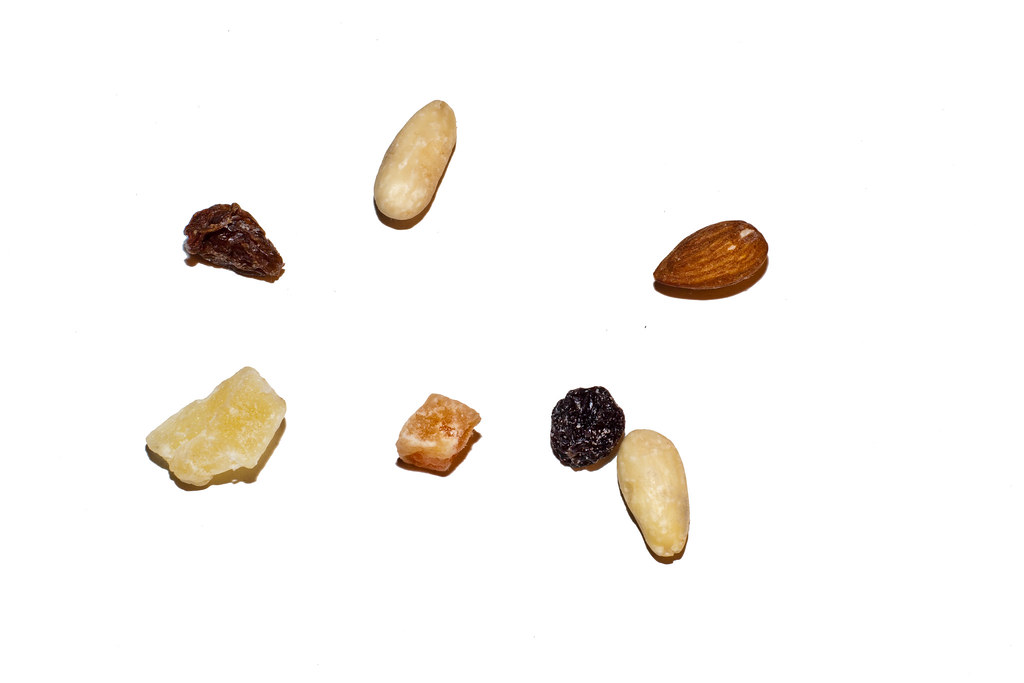
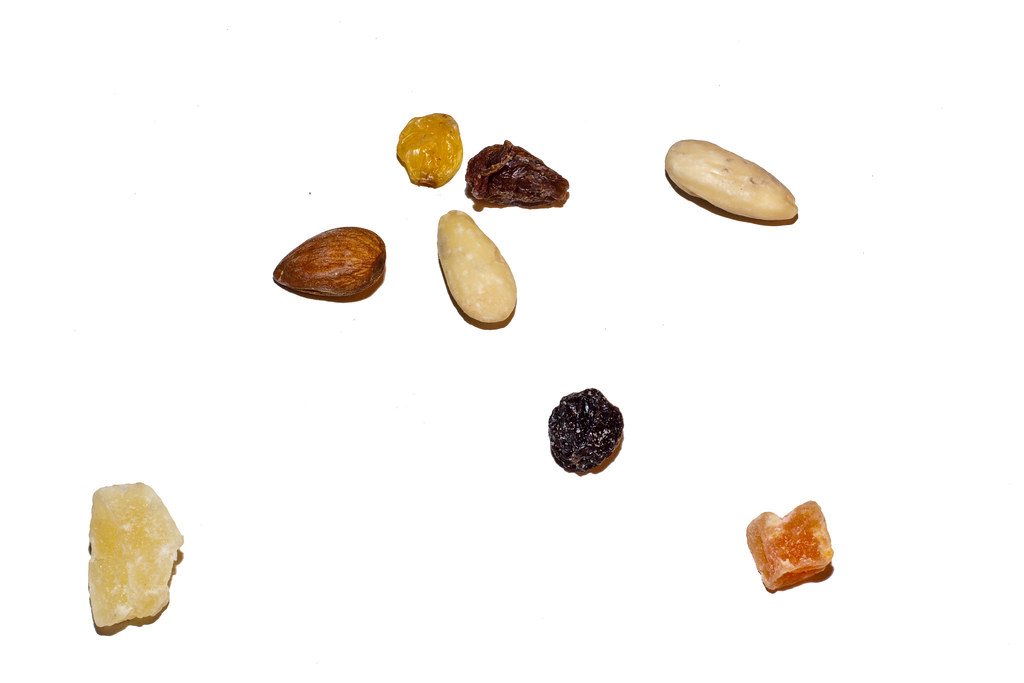
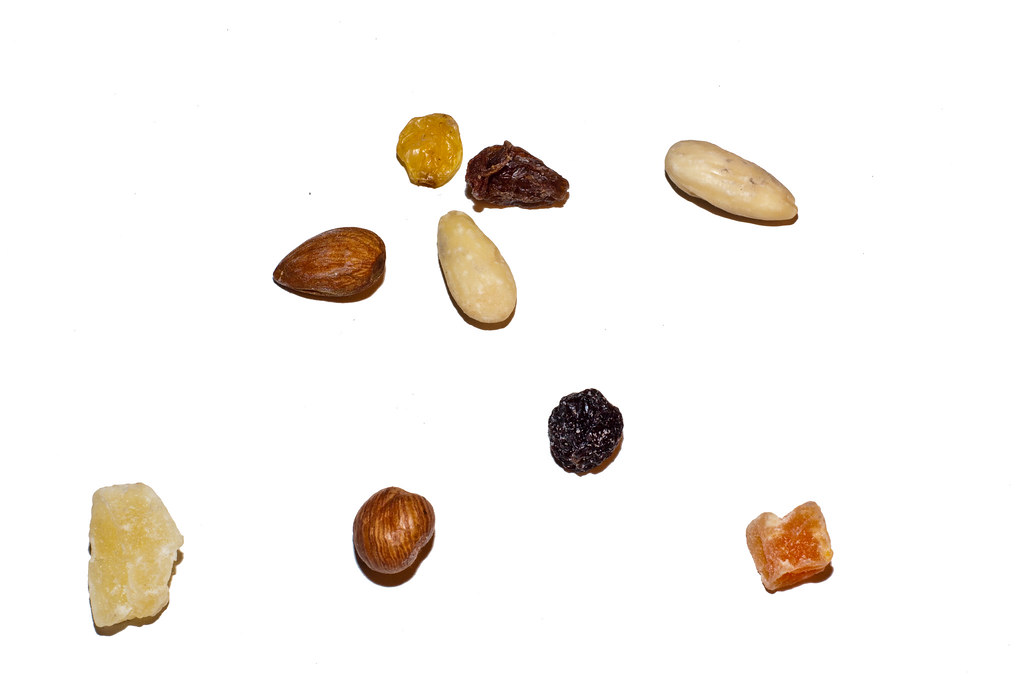
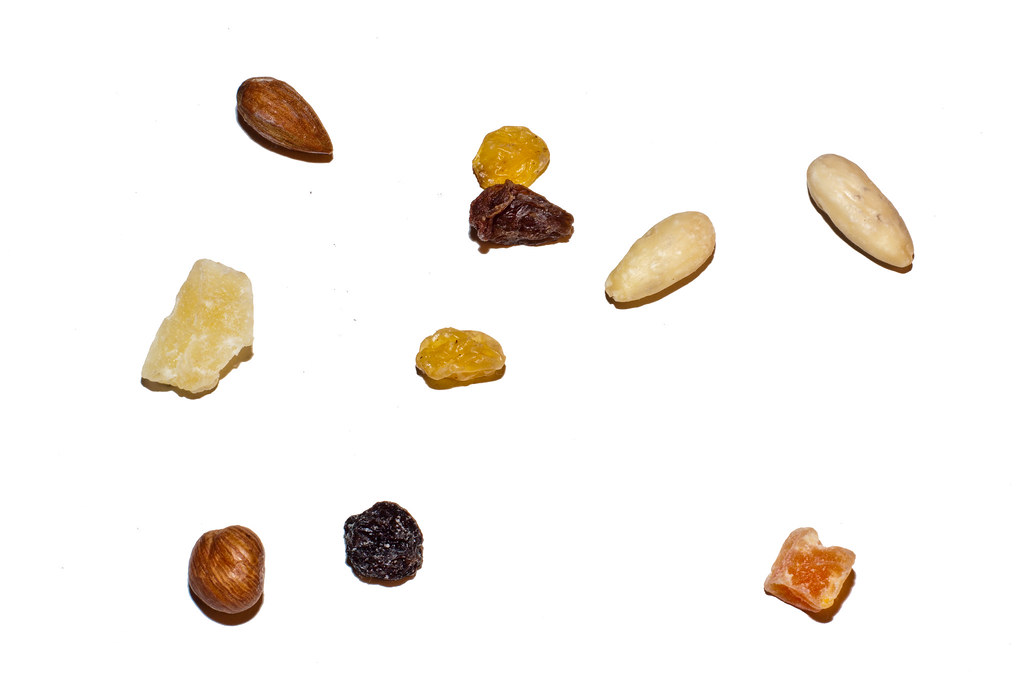
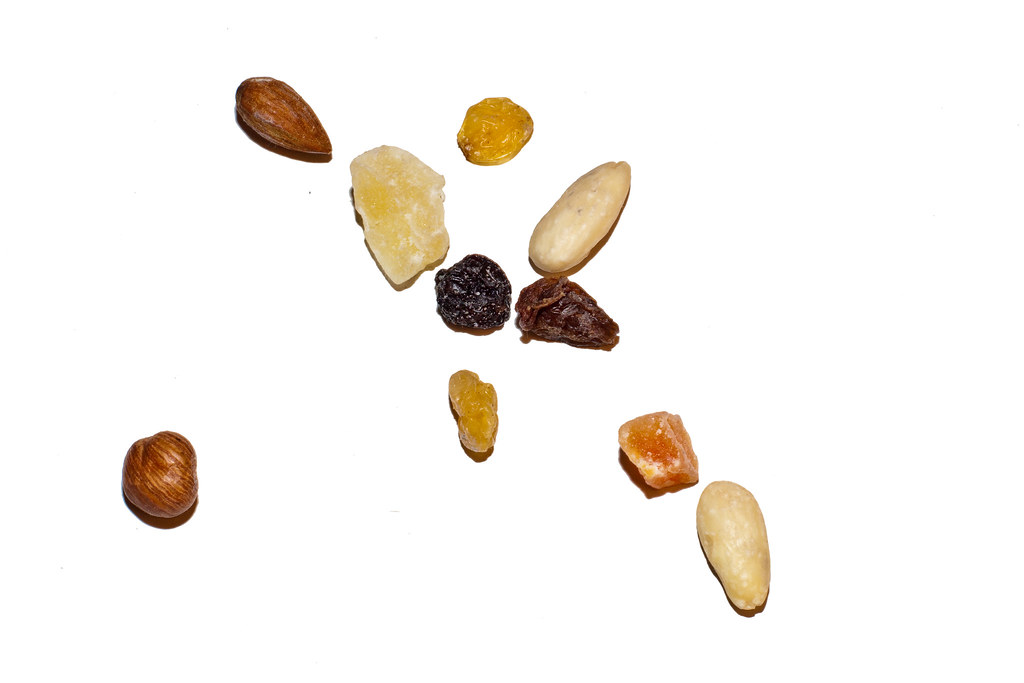
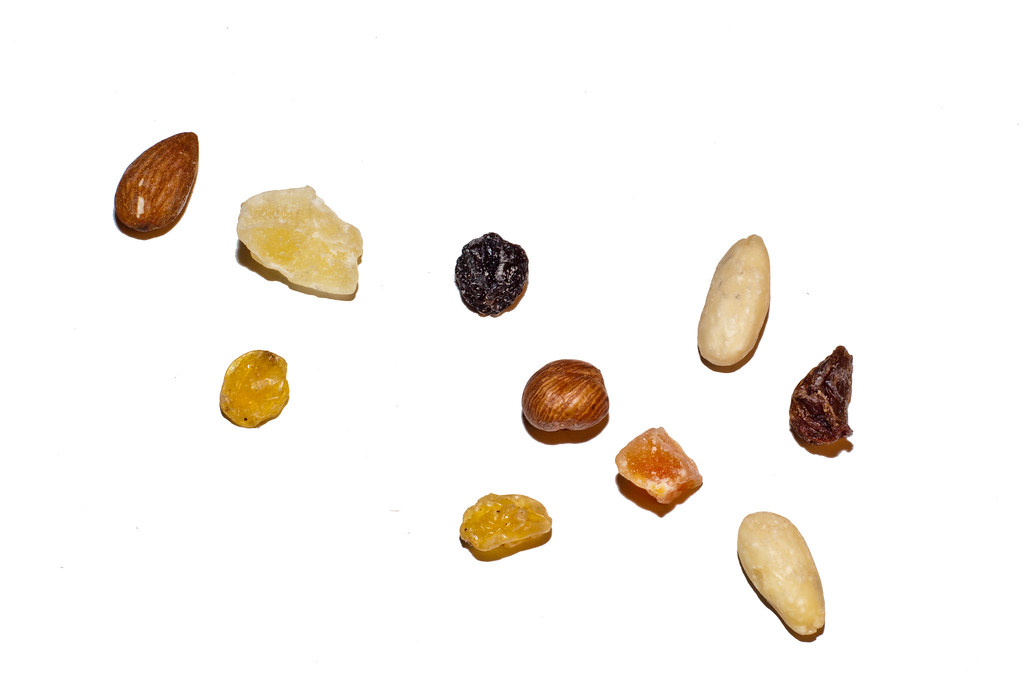
In this exercise the aim is to create a composition of a still life made with 10 objects, with a sequence of photographs of the placed objects, 1 by one.
I have decided to use a plain background, even though an uneven background was suggested in the exercise.
I have placed one by one dried nuts and fruits on a white cardboard box.
A tripod, flash and 50mm lense were used.
All pictures have been processed the same way through an automatic photoshop script, automating an action
I had created processing the first image.
I adjusted white balance, exposure, contrast In Adobe Raw. The file was then sent to photoshop and the white background has been repainted white as the original one wasn't usable.
You can view the set through the following slideshow or view the picture set via the link below it.
This exercise was vey helpful in realising how difficult it is when you have the freedom of being totally in control. A still life composition such as this one carry so many tweakable variables it can become overhelming.
This one being my first, I had a hard time choosing the background and something I could light up easily. Having no lighting system I relied on my flash and post processing on Photoshop, I used a white cardboard as the background which had nasty reflections caused by the flash.
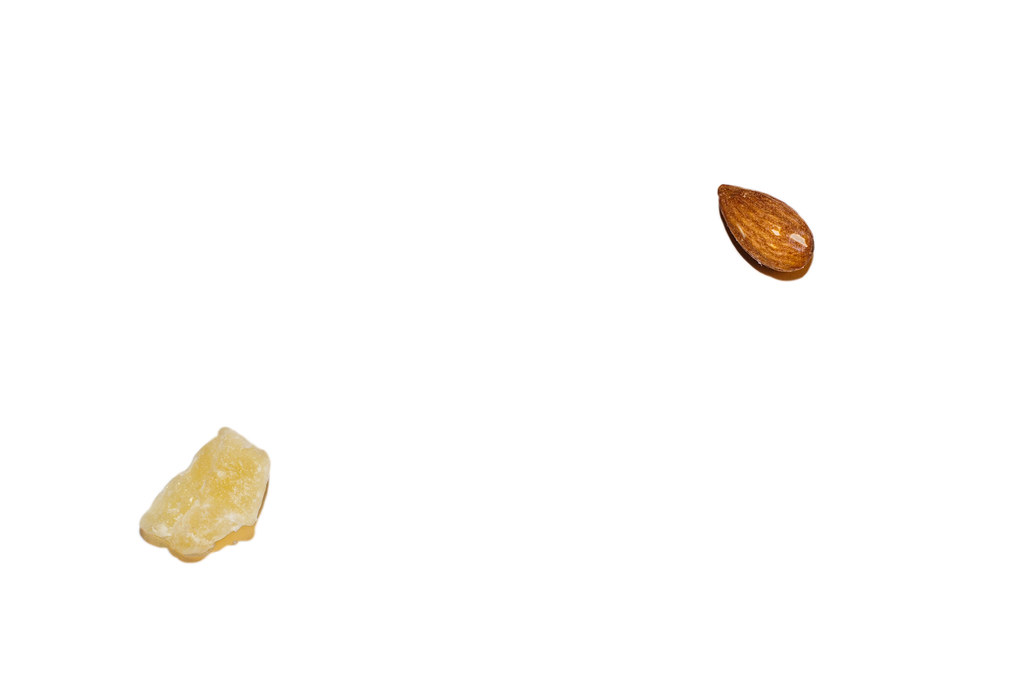
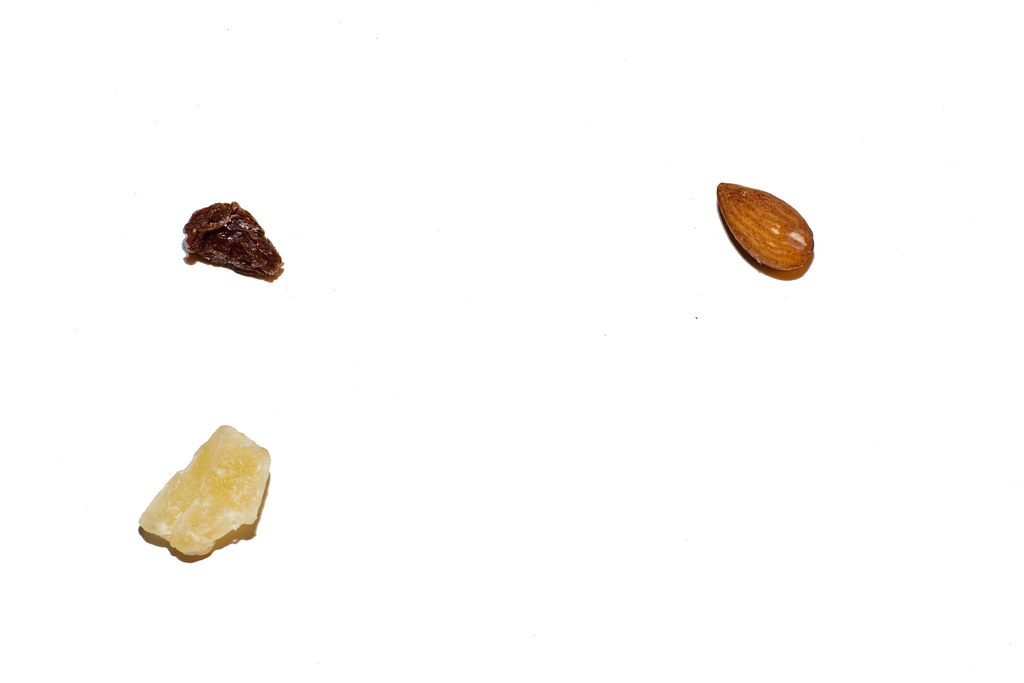
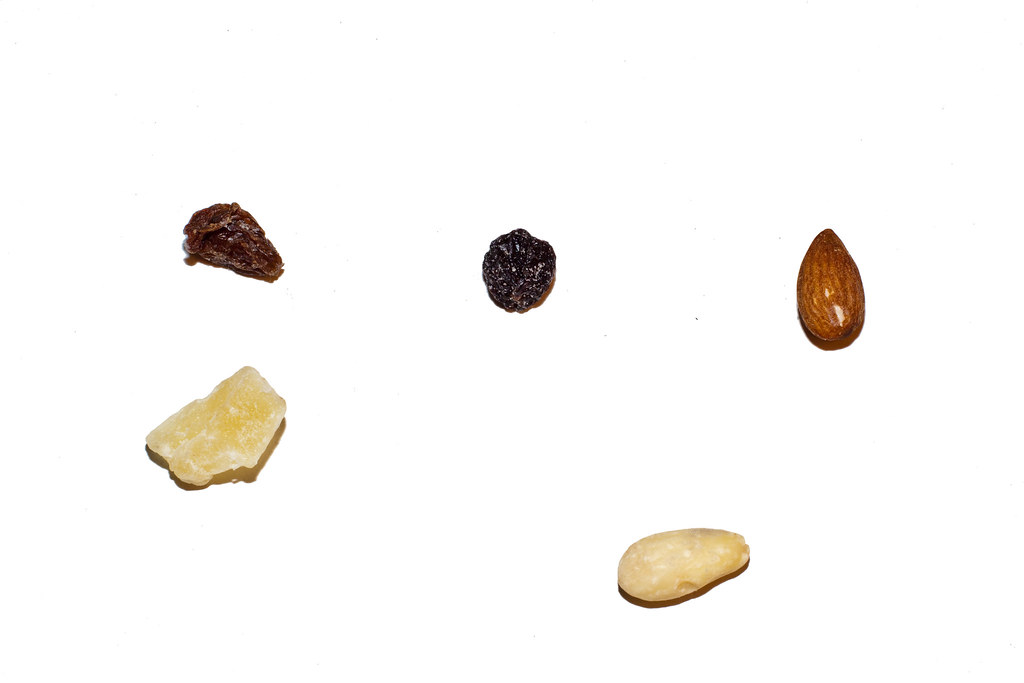
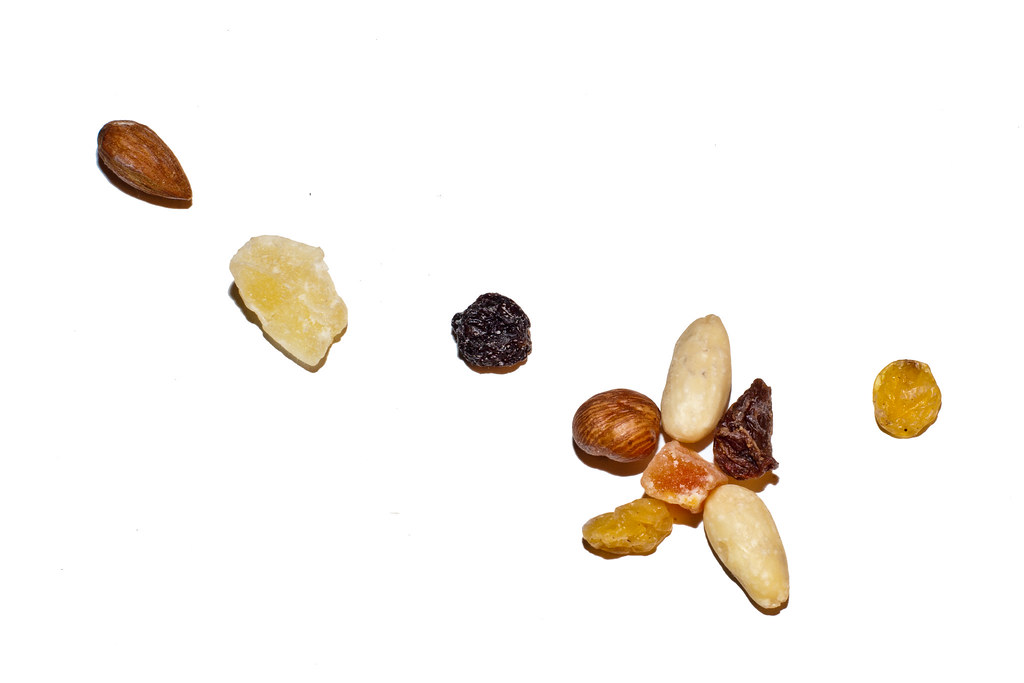
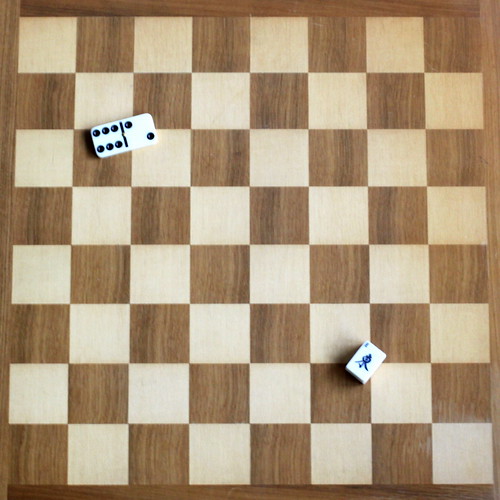
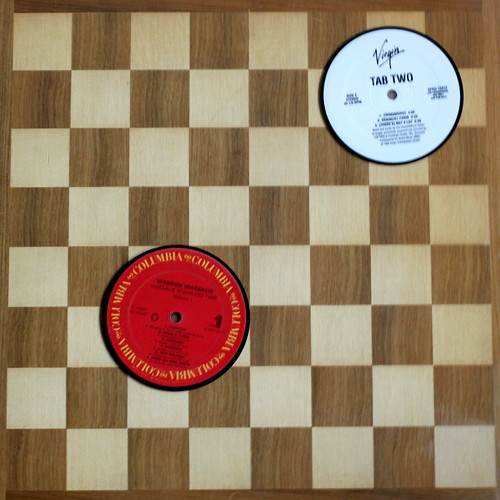
When it comes to the positions of the elements it could take forever to find the correct match as the possibilities are almost endless. However, What I've found out is the composition is usually more appealing with odd numbers of elements. Although, from 5 elements and up the eye tends not to count the number of elements anymore but somehow, it seems to be pleased by odd numbers.
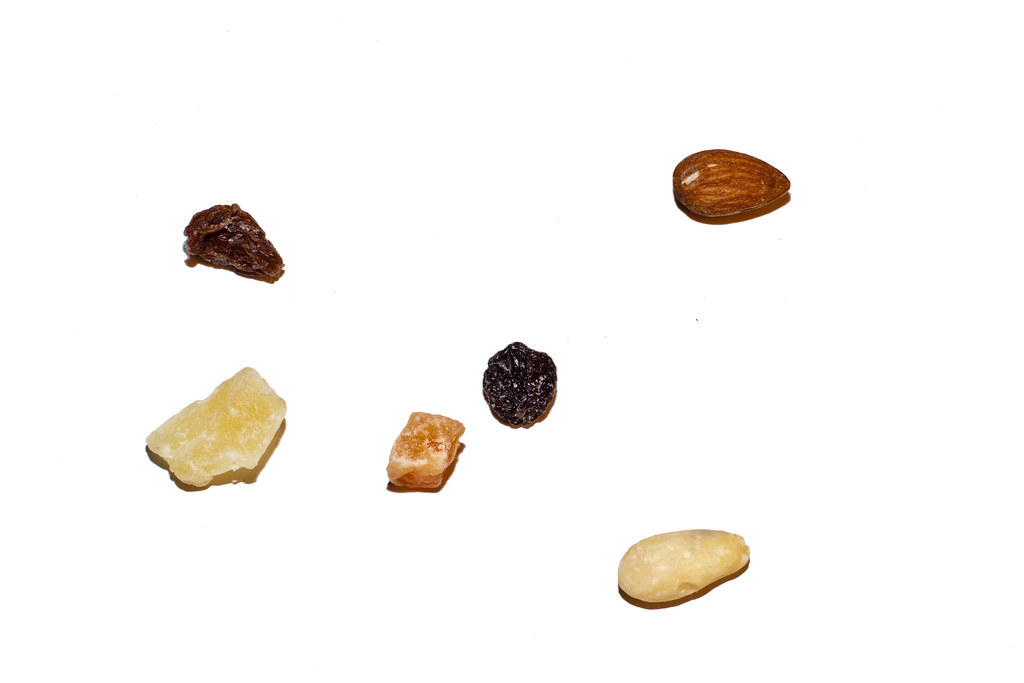
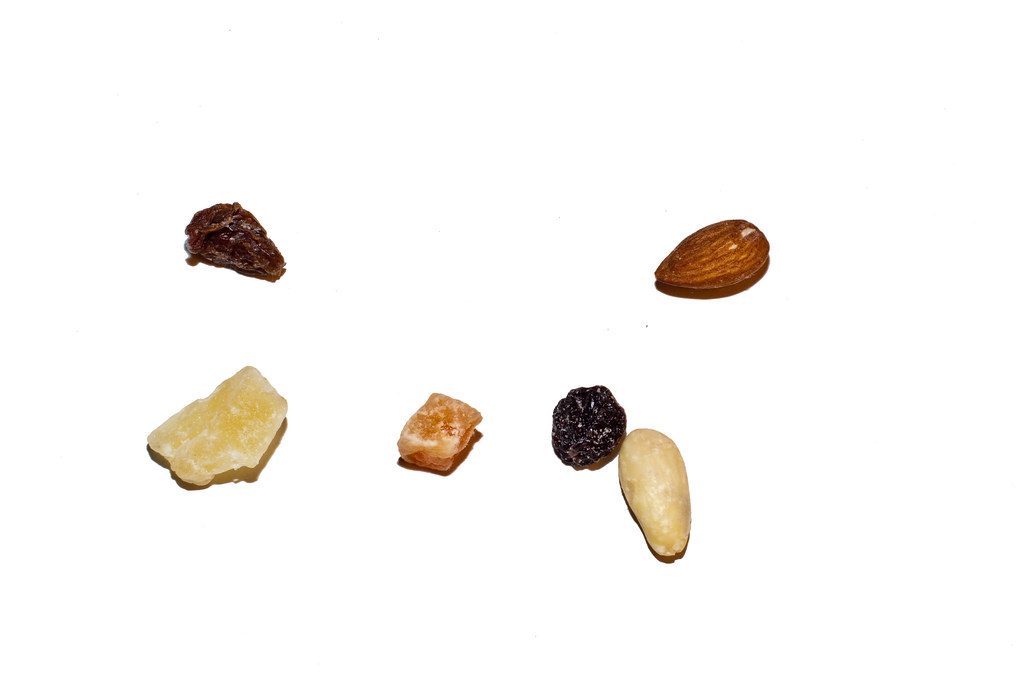
Placing the elements is key. I honestly thought just throwing 10 nuts like a handfull of dices on a white background wouldn't look dramatically different from a carefully planned composition. While this could sometimes work it's much more efficient making your own decisions and trying out different scenarios.
In this simple exercise it was easy to see the way the elements were displayed could radically change the whole dynamic of the image.